

40K Mountain Fortress 贖罪の砦コンバージョン
by David on 2012-07-07 (Sat) 15:37PMTo celebrate the release of Warhammer 40,000 6th Edition, and the start of our new club Warhammer 40,000 Starter Army Campaign, I decided it was time to put our building bitz to good use. We received a bag of bitz a while back from the massive Fortress of Redemption model, and my solution was to build the tower into a cliff face to provide the model with its back walls.
ウォーハンマー40,000第六版が先週発売になりましたので、40K用の大型情景モデルを作ろうとしました。「贖罪の砦」モデルのビッツパーツはこの前もらいましたが、壁は一面しかなかった。と言う事は山に埋め込むしかないだろう?
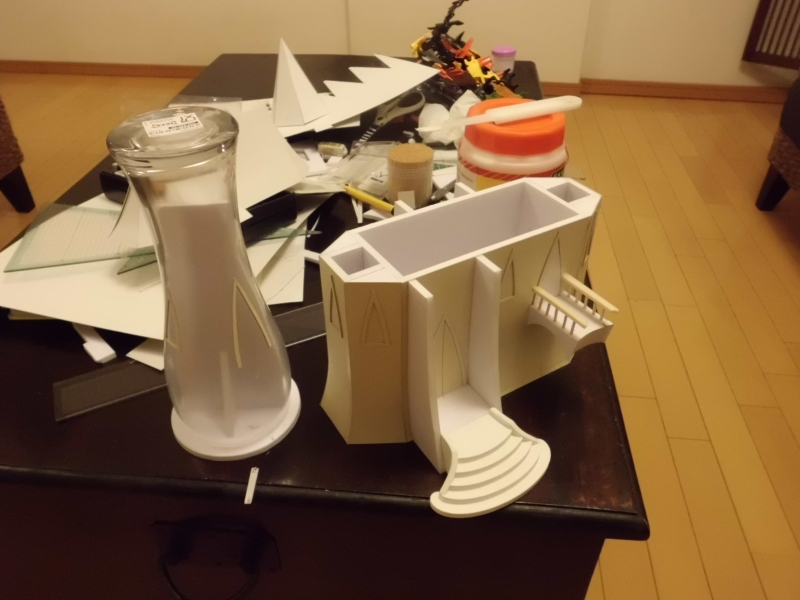
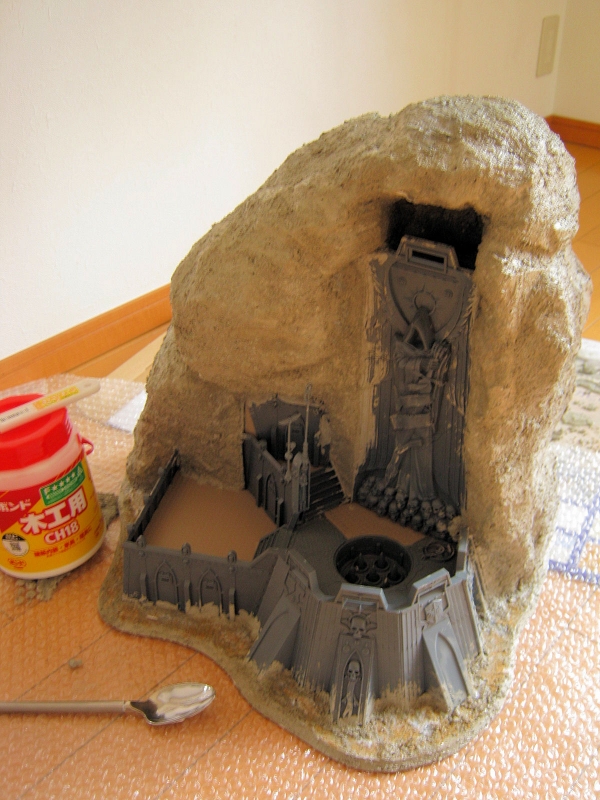
I had one face of the tower, plus half an octagonal end section and two straight sections. After some playing around, I found this layout worked well, and filled in the missing floor sections with Tamiya's great textured plasticard. Some huge blocks of packing foam made up the cliff face, and I managed to fit in a small cave for the tower top.
塔の一面しかなかったので、作れるレイアウトはあまりなかった。入り口は右側にありますが、この写真では見えないんだ。
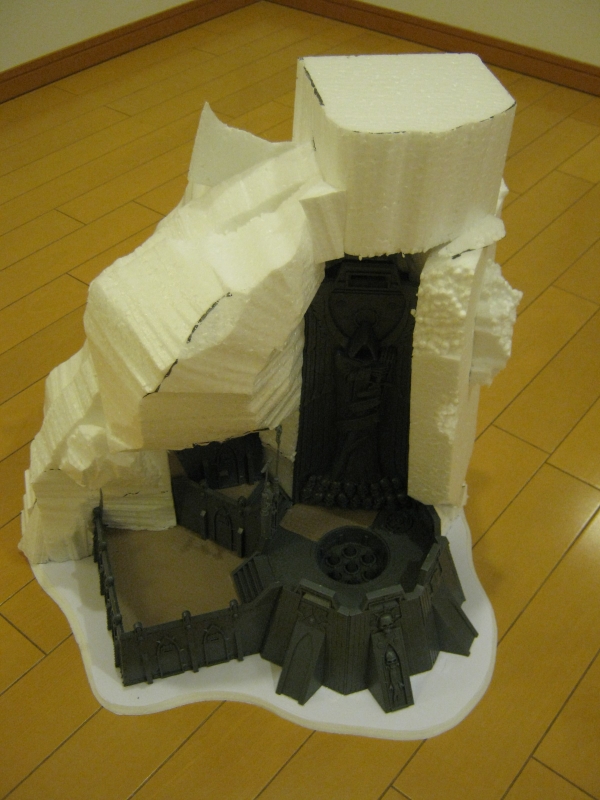
After some very messy trimming with a hot wire cutter, I had the basic shape of the cliff complete, so it was time to texture those walls...
発泡スチロールをホットワイヤーカッターで岩の形に切れました。

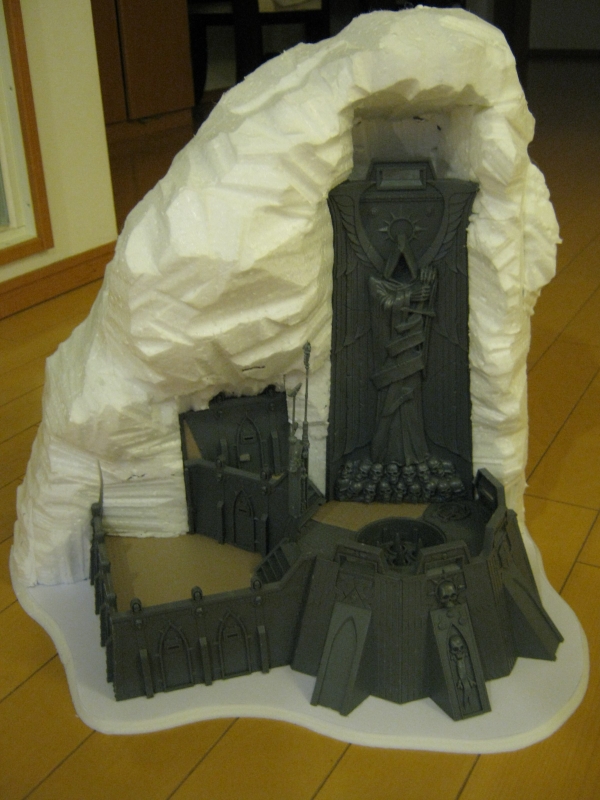
Some cheap household cement from the local DIY store was slopped on very thickly with rubber gloves, to give the cliff-face and base some texture and strength. Euan (7) and I did this together, and had great fun!
グッデイで買った家庭用セメントをゴム手袋で貼りました。凸凹はもちろんできたし、発泡スチロールを強化するためにもしました。
After the cement had dried thoroughly, I applied a PVA/water mix (of roughly milk-like consistency) to all the rocky sections, to seal in the cement and the scattering of extra sand I spri kled over the base. The tower was now ready for painting.
翌日、木材ボンドを水と混ぜました。大きい筆で岩のところにペイントしました。これでモデリングは完成でした。
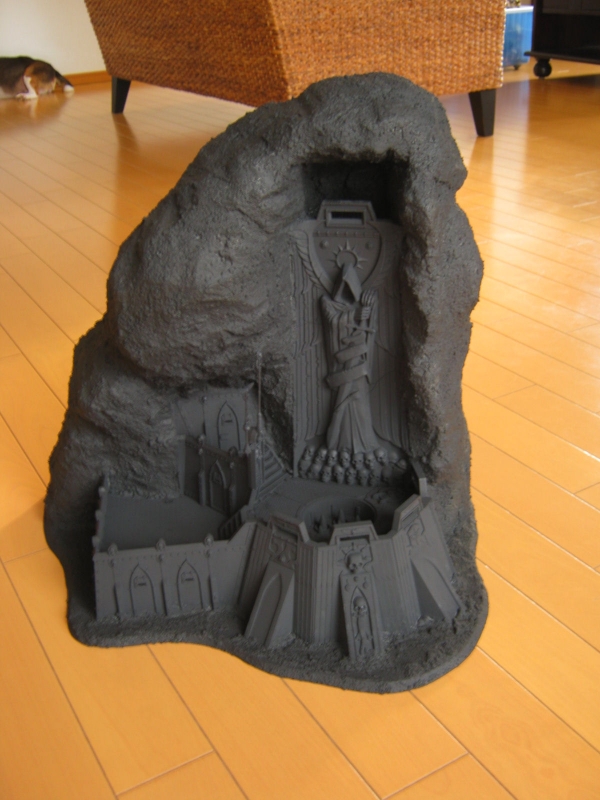
Next came an all-over spray in the cheapest matt-black paint I could find. I knew from previous experience that the one I bought was safe for polystyrene, but it's always worth checking the can!
艶なしの黒で全体をスプレーしました。
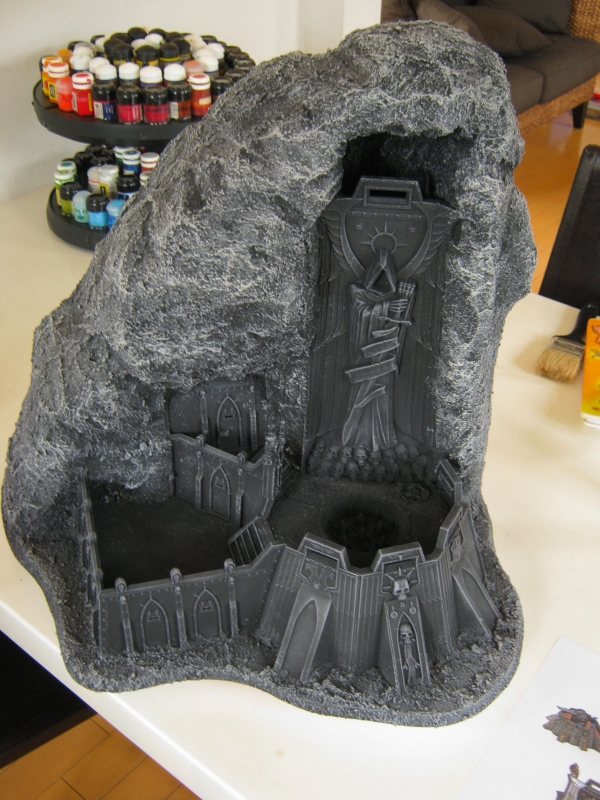
Using two shades of cheap acrylic grey paint from my local DIY store, I managed to get the whole model roughly drybrushed in about 90 minutes. After that it was just a case of finishing some of the model's details in golds and silvers etc, using the largest citadel brush I had. In all, I completed the painting in just a little over 4 hours.
グッデイで買ったやすいアクリル灰色のペイントでドライブラッシュ(磨きペイント)をしました。グレーとライトグレーの2色を使いました。そして、残りのモデルをGW製ペイントで早速終わりました。全部でたった4時間でペイントをできました。
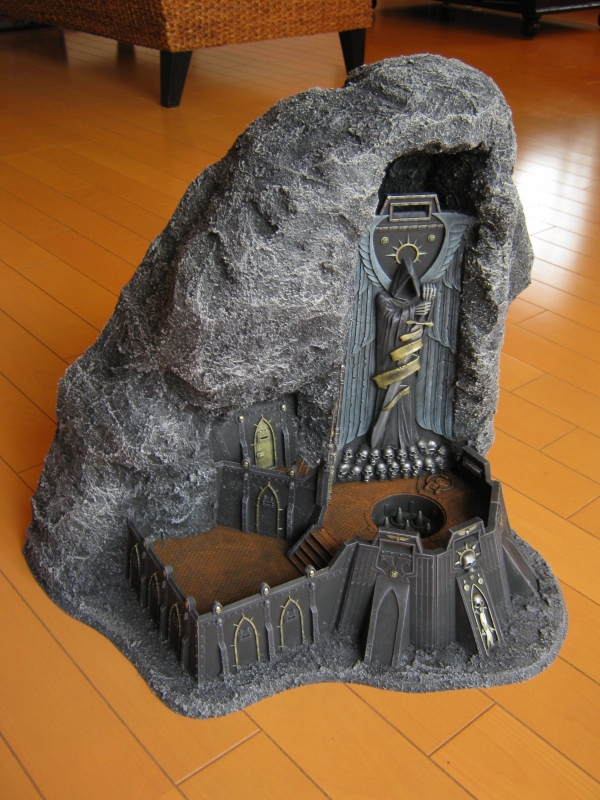
So here is the finished tower, ready for the gaming table. For those planning to take part in the upcoming club 40K starter campaign, you'd better start getting your TROOP units ready!
完成の塔だ!ゲーム中の利用を楽しみにしています。クラブのメンバーも、40Kをやろうよ!
2 Comments :
Russ 2012-10-11 (Thu) 16:11PM
 Awesome work, I wonder if it would have been better to be usable from all directions. What do you think?
Thanks for sharing!

David 2012-10-11 (Thu) 16:28PM
Yes, usable from all directions would have been great, but the lack of walls prevented me from modelling it that way.
コメントを書く :
Random Images: