

Space Hulk tunnels : 宇宙船ボード
by David on 2014-07-27 (Sun) 16:55PMLook what turned up on my doorstep this morning..... a box of Space-Hulk style tunnels and rooms from FantasyArc, whose Bug Hunt Corridors Kickstarter I bought into last year!
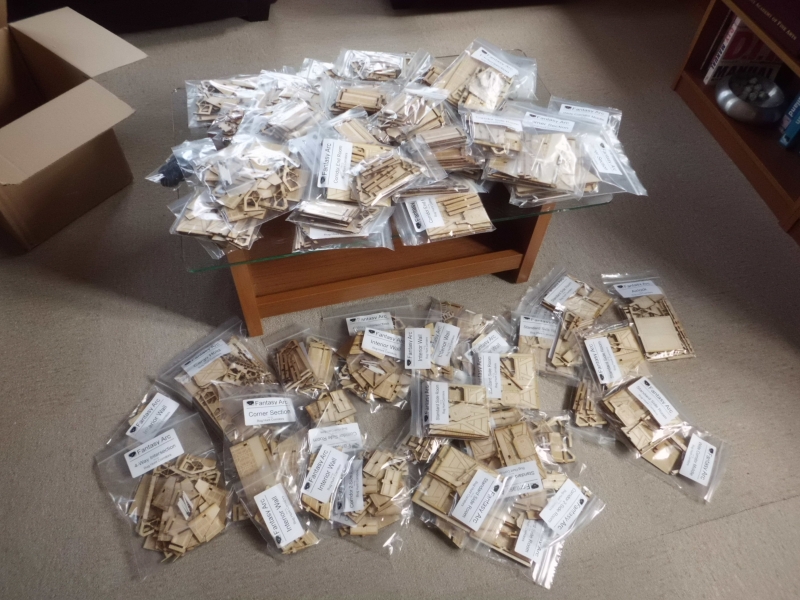
.... HELP ME !!!! I think I'm drowning !! ........
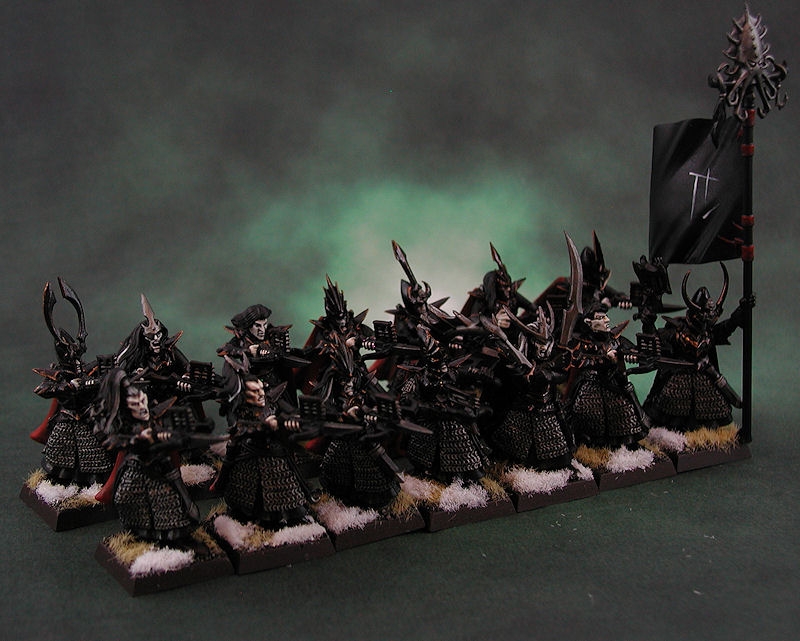
Wow - well that should keep me busy for quite a while. Dammit, and I was only 9 models away from finishing my new army for the tournament. Got to... concentrate. No... can't... hold on .... much longer.....
No, I just had to try out the colour scheme in my head. So, I quick few hours later, I had sprayed a test piece in 3 colours and given it a quick bit of drybrushing and rust weathering, and this is what it looked like:
That will do me nicely, I think. Quick and simple - at least for the corridors.
Right, time to finish up those last 9 models...
Painting
Here is my recipe for a fairly quick and dirty paint scheme for these spaceship tunnels. After getting the basic straight corridor sections out of the way (of which I had 18!), I decided to speed things up by batch spraying all the other kits and just piling them up on the living room table.
Undercoat sprays:
1. Matt black for floors, wall panels and pretty much anything that would later be silver.
2. Very light dusting of silver spray over all those black sections.
3. 'Colorado Green' matt spray over all the struts and bulkhead walls.
4. 'Khaki Grey' matt spray for the waist-height panels.
Paints:
1. 'Chainmail' drybrush over all silver parts (floors and wall panels).
2. 'Camo Green' drybrush over the edges of all green sections.
3. 'Fortress Grey' (light grey) drybrush over any grey sections.
4. 'Catachan Green' painted on to the edges of the floor panels, followed by 'Thraka Green' wash to bring those areas closer to the sprayed green colour.
Weathering:
1. Speckle/stamp 'Bestial Brown' on floor sections sparingly, to replicate rust.
2. Speckle/stamp 'Macharius Solar Orange' on top, in smaller amounts.
All the kit parts were sprayed separately, and drybrushed separately, and then glued together. Final highlights (like green edge drybrushes) and the rust weathering were then applied, and they were finished.
Having now spent a few weeks working through the majority of the kits, here are some photos of the partial layouts. I'll keep the final, full layout as a surprise...
A model's eye view of the corridor. My order came with a dozen or so interior door bulkheads. With the bulkheads divided throughout the straight sections, junction sections and so on, quite a few "mini-rooms" can be created. I haven't yet finished the doors, but it makes for a better photo, eh?
I have to admit that painting the hazard stripes was quite a tedious job, but it got very good results. The floor sections actually have the black parts laser-etched into the design about half a millimeter, which makes it pretty easy to paint the stripes neatly.
Lighting
So now that the kits were mostly painted, I also had a think about how I wanted to light this terrain. Since we'll probably be using this setup in the loft games room, it's a good opportunity to play the game with some real mystery and atmosphere - turn the room lights off, covering over the corridor and room sections, and only switching on the board lights as each section is explored.
I had two different lighting effects that I wanted to try - plain 'fluorescent' white light strips and atmospheric red bulbs. Last time I was in my local Ikea store, I came across a string of red LED mini bulbs connected to a battery pack. The bulbs were spaced approximately 4 inches apart, and there were 12 to a string. The whole contraption was only 300yen or so (3 dollars), so I bought 3 sets! These will not be fixed permanently to the board sections, but will instead be inserted into 3mm holes drilled into the corners of the rooms. That way I should be able to stretch them between several nearby rooms and change layouts easily enough.
Anyway, as I haven't quite gotten to that stage yet, I'll show some progress photos of the white-lighting setup instead.....
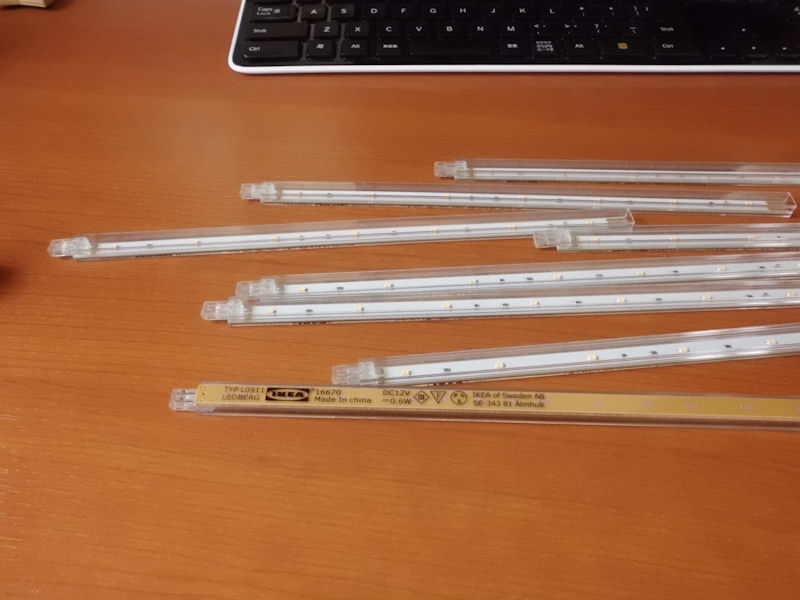
Also in my local Ikea were these packs of LED white strip lights. Each pack contains 3 sections of approximately 12" plastic strips, which include white/yellow LED lamps spaced about an inch apart. I think they were about 1400yen for each set of 3 (14 USD).
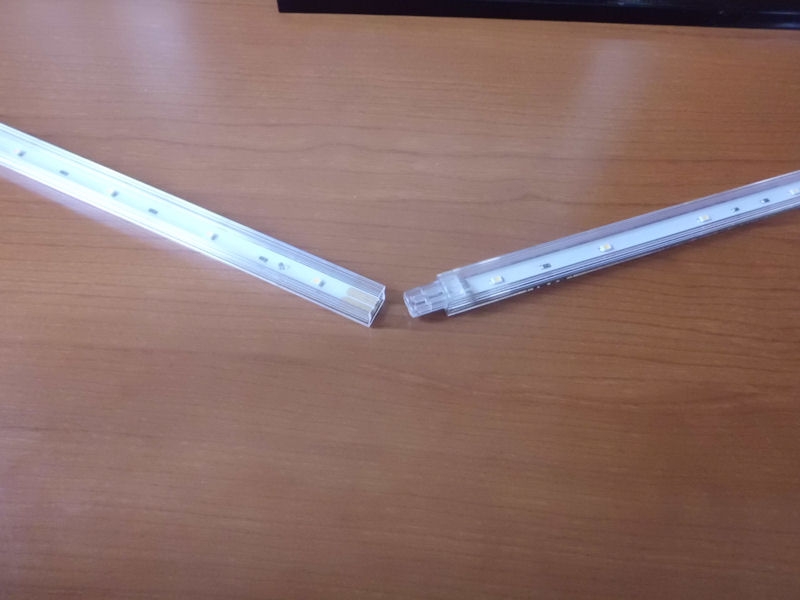
The clever thing about these sets was that the end of each section could slot into the end of the next (much like model train tracks), and thereby share and connect the electrical circuit. So theoretically you could probably connect several foot of strip lights with one mains adaptor.
The other advantage of using these type of strip lights was that they were very, very slim; under 10mm. As luck would have it, I found that if you laid them on their sides (so that the light would be shining sideways rather than up), they would fit exactly in the gap in the corridor sections between the edge of the floor and the walls.
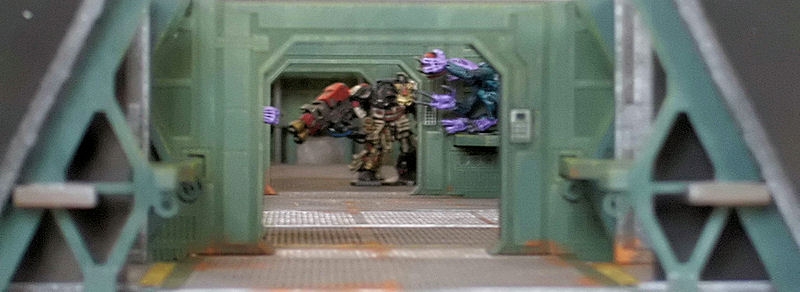
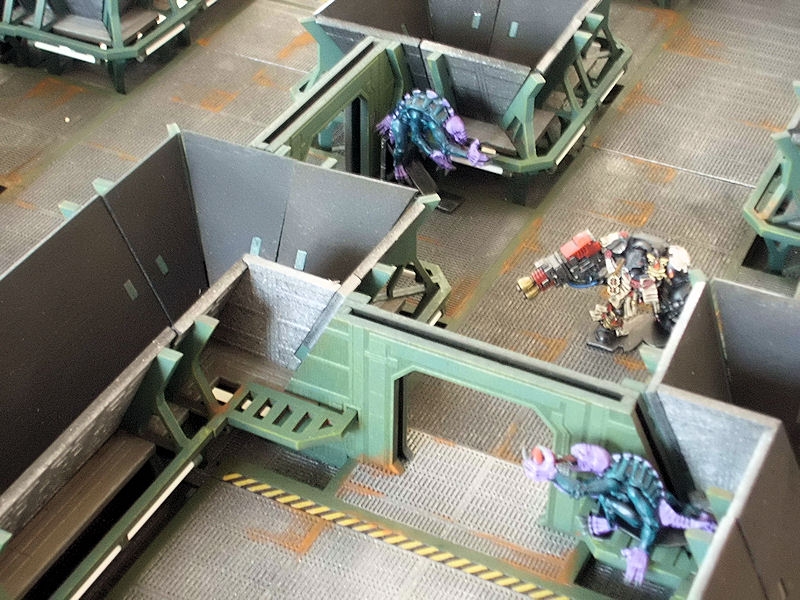
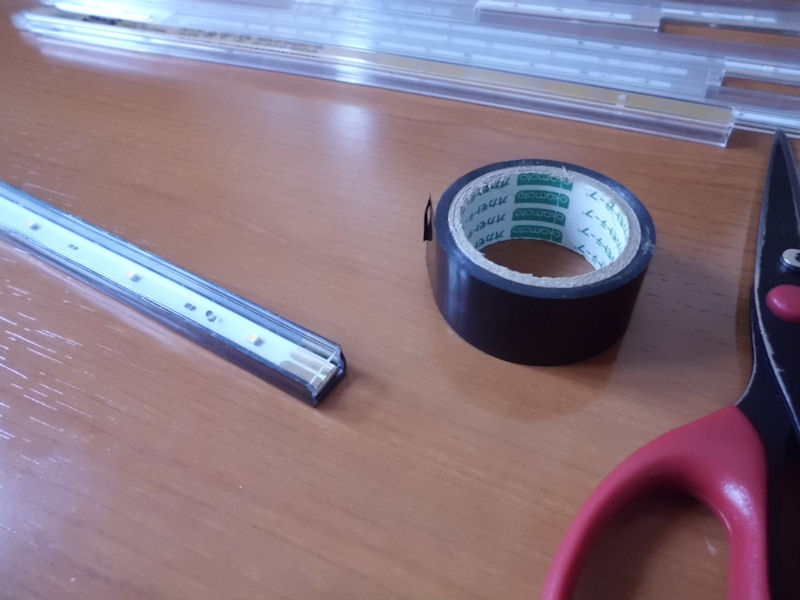
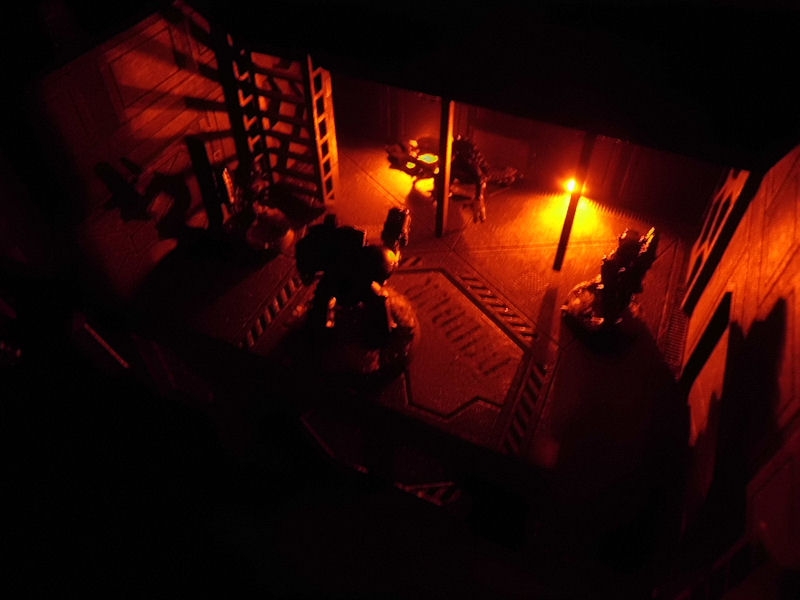
After that, it was a simple job of covering 3 sides of each strip with thick black electrical tape, to channel the light in only one direction (i.e. sideways). I'd previously found that if you didn't do this, they were rather too bright at illuminating the areas OUTSIDE the corridors, which was a bit distracting. So with the lights effectively masked from shining into your eyes, the interior of each corridor section was instead lit up at the model's ankle height. It looked beautifully atmospheric, even in these very rough mobile-phone shots (thanks Miyao-san)!
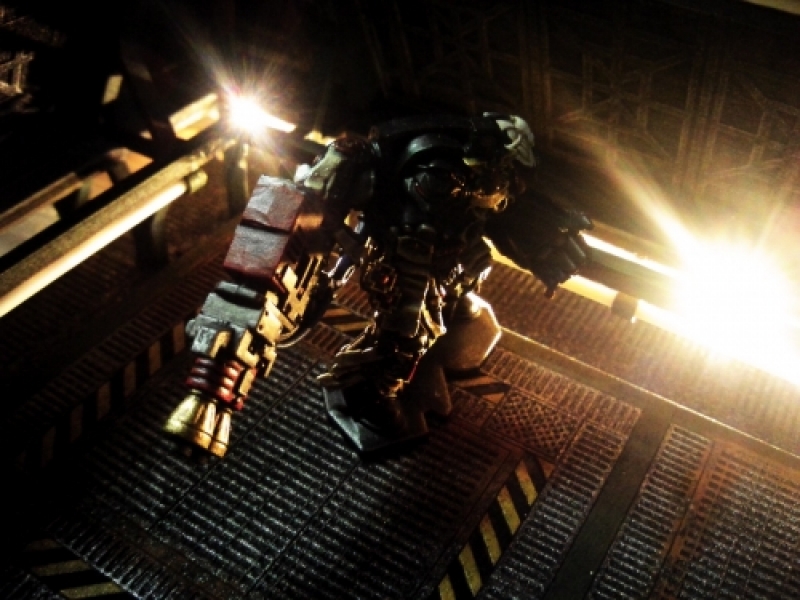
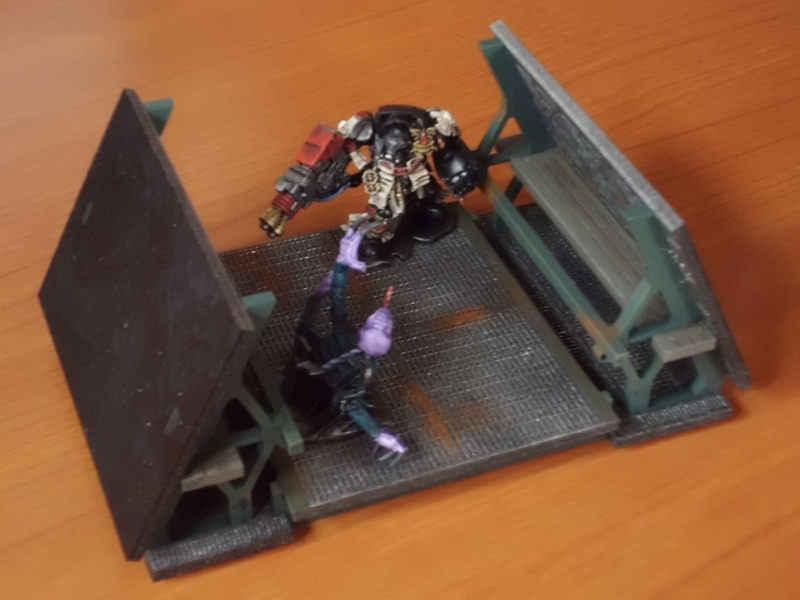
One of the terminators from the recent Space Hulk game. These models look great on these boards!
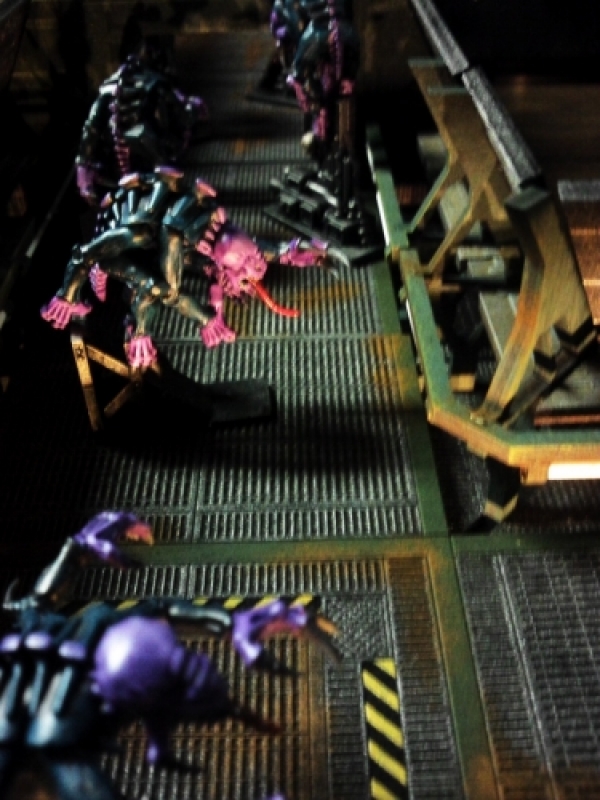
Finally, a blurry shot of genestealers too! I don't know about you, but if I was exploring a grim and rusty derelict spaceship, I would really be pretty terrified to meet these guys!
Further Progress
I'm getting pretty close to finishing everything now, so I thought I'd share some thoughts on transfers. The photo below shows the largest of the terrain rooms - the cargo hold. In addition to coming with two removable step and platform sections, the room features this awesome floor design.
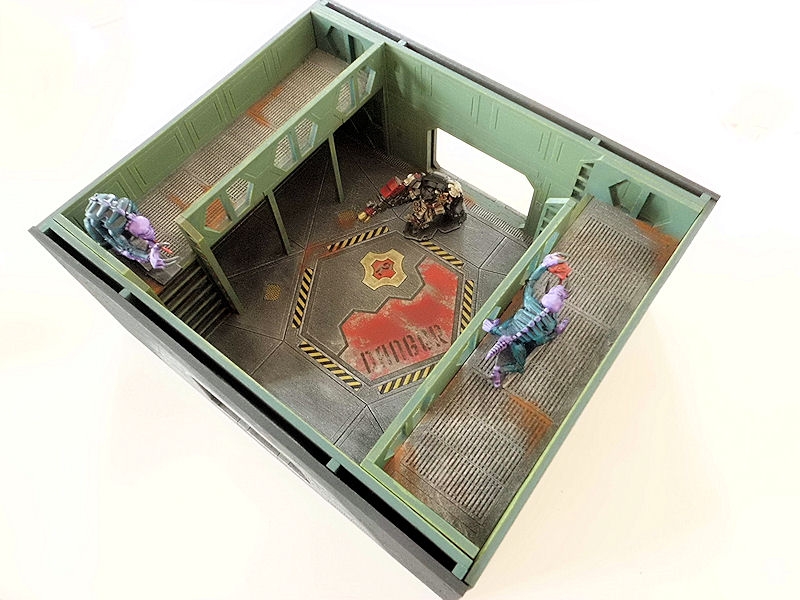
I wanted to include a few water transfers here, to add a nice big "WARNING" sign on the floor, so I printed up a sheet of custom transfers (see the how-to guide). If you try this, I really recommend using a grunge-effect font, as it gives a great sense of age and weathering, even before you paint on rust and scratches. Looks pretty good! Try a search on Google for "grunge stencil font".
Final photos of the full layout and lighting to come soon......
Final Photos...
After several months and 6 cans of spray paint, the entire board is complete and ready for gaming. Here's a layout Euan and I came up with, with a variety of Terminators, Genestealers, Marines and Arbites models...
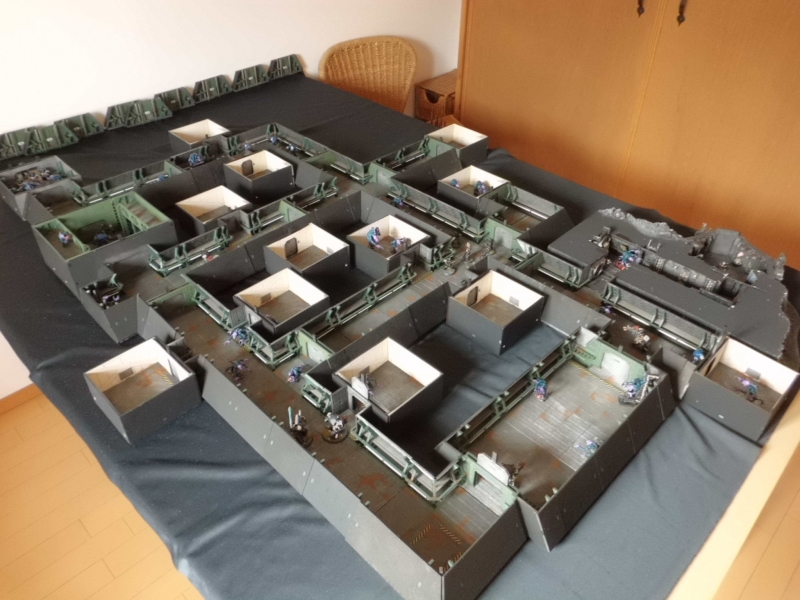
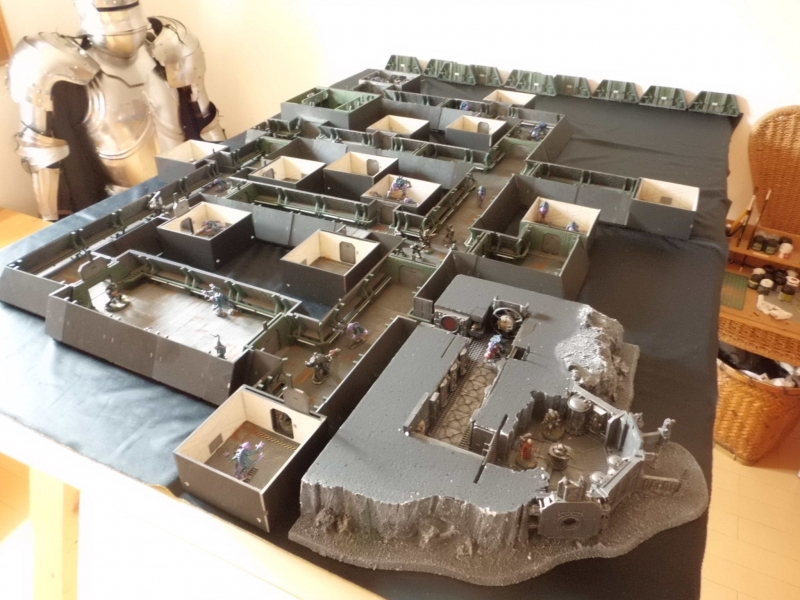
I was happy to find that the corner of the table allowed the research space station to be backed onto the corridor layouts. I wonder how many valiant space marines will make it safely out again...

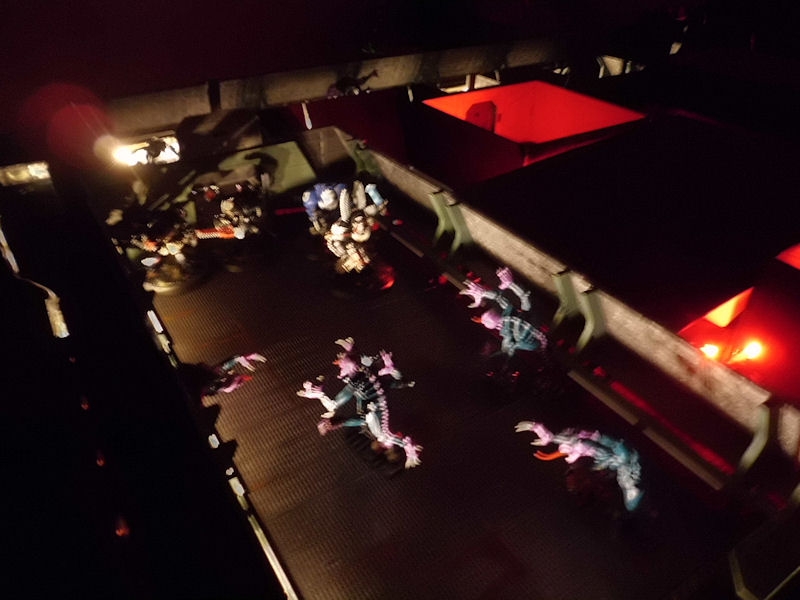
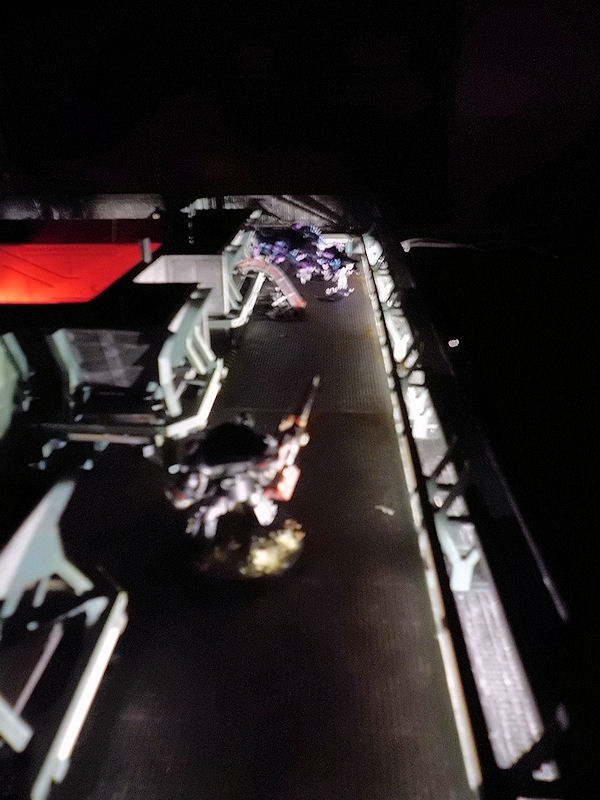
Lastly, here are some very blurry shots of the same layout with the red room LEDs lit up, and a few scattered white strip LED lights along the corridors. Hellish!
"They're coming out of the walls!!!"
Last stand? :
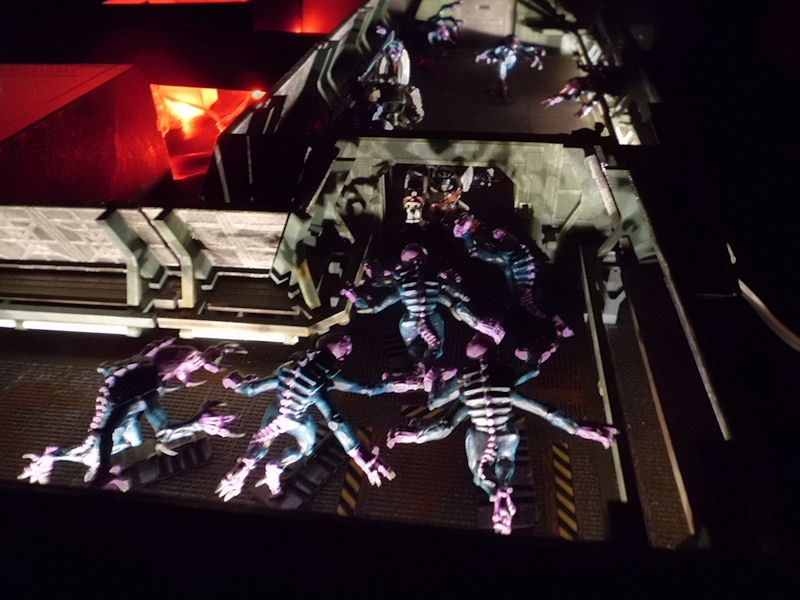
The multilevel cargo hold, with more sneaky genestealers:
Open fire!!!!! :
3 Comments :
Red 2014-12-14 (Sun) 9:13AM
 Really nice job! I cannot believe that more gamers haven't caught onto this, nor the fact of hiding a section at a time until viewed. Some of the neatest elements of video games can be recreated in an analog sense, on our tabletops!

Jean-Luc 2015-03-03 (Tue) 10:43AM
Nicely done, I considered the kickstarter, but voted against. Storage seems like an issu. did you find a good solution.
David 2015-03-03 (Tue) 14:29PM
Actually, they stack up pretty small, because you can tuck the walls of each piece into the empty space of another piece. I managed to fit everything into one plastic tub (40x60cm, I think). I should really start looking for some simple and fast gameplay rules....
コメントを書く :
Random Images: