

Norsca Village : ノースカ村
by David on 2014-07-03 (Thu) 14:02PMMy colourful Tzeentch army is growing in size, and I spotted these good value flatpack kits recently on the net - the perfect home for my viking-themed marauders. The company that produces them is 4Ground.co.uk, a UK-based firm selling a wide variety of laser cut MDF board kits.
イギリスのメーカー 4Ground.co.uk から購入しました。ケイオスアーミーの村で利用できると思ったので、セットを買いました。
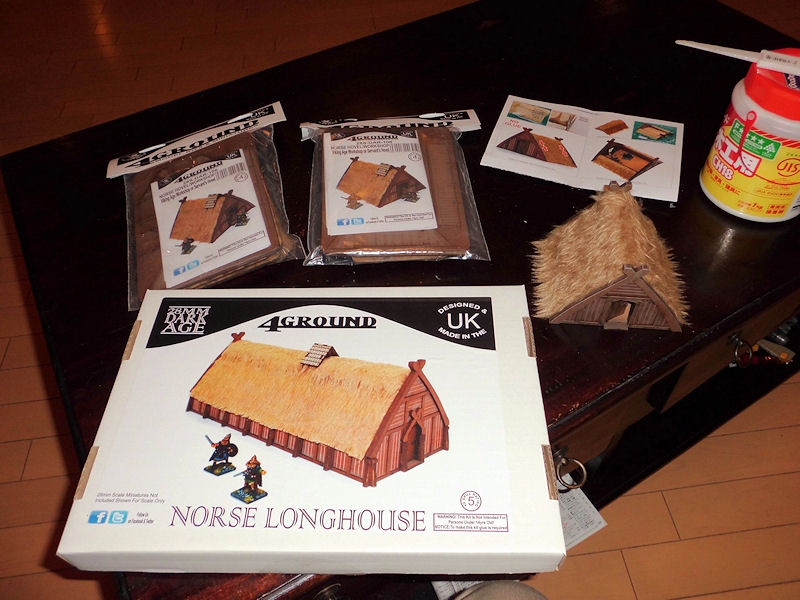
I bought one large longhouse, two regular longhouses, and one smaller storage hut, for approximately 50 pounds plus shipping (roughly 8000yen at time of writing). The kits come in individual bags (or a box for the larger building), with separate cuts of teddy-bear fur and full instructions.
4つのロングハウスは約8000円プラス送料となりました。屋根のためにカットされたテディベアの布も含まれています。
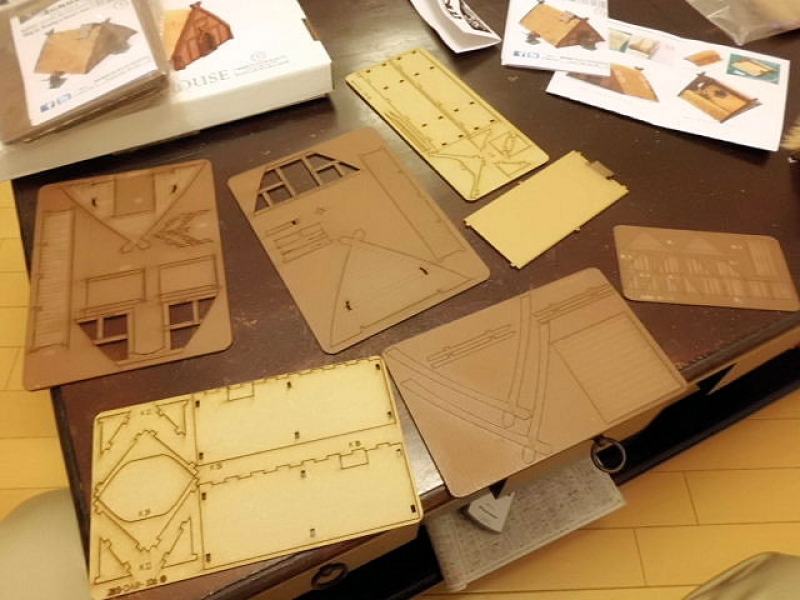
One neat thing I liked about these kits is that the exterior and interior walls are already painted, in a basic brown colour. So once you've assembled them, you can use them straight away.
キット内容はすべてブラウン色のボードからできていますので、ペイントせずにで利用できます。
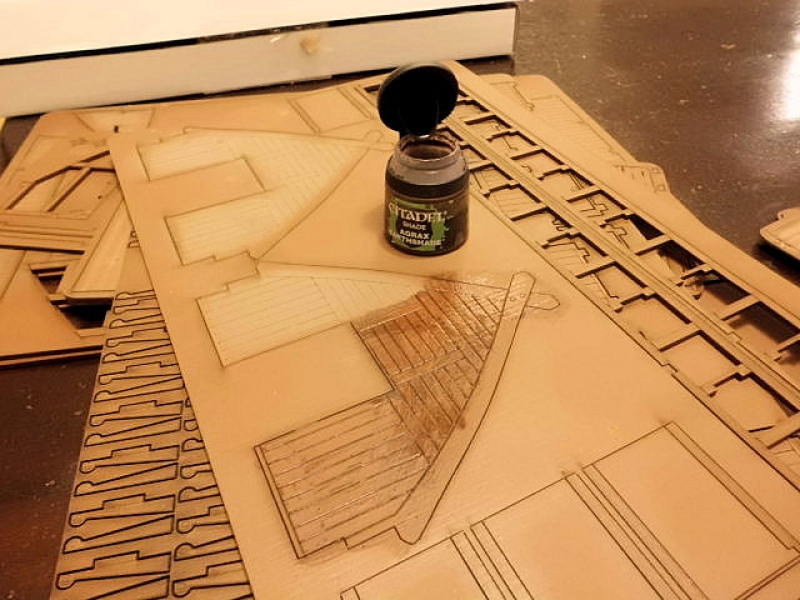
However the detail on the kit is fairly basic - mostly just planks of wood. So I decided to stain everything with an Agrax Earthshade wash prior to assembly, with an eye to light drybrushing once the kits were assembled.
組み立てる前にブラウンでウォッシュをしました。
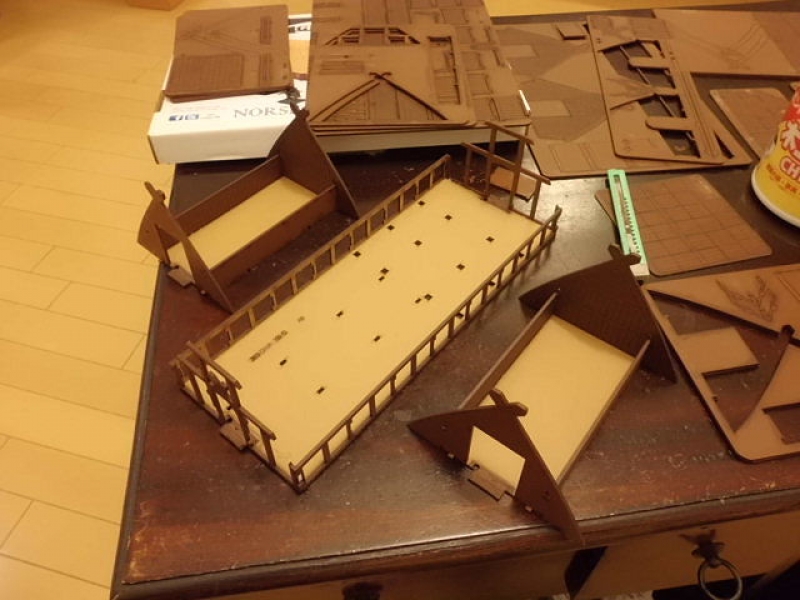
I assembled all the buildings at the same time, and these went together very smoothly. Instructions were very clearly marked, and I didn't have any problems here. The interiors of the buildings are very plain, but do have planking to match the exteriors, and you could add fireplaces and furniture if you wanted to.
説明書(英語だが写真多い)はとても分かりやすくてスムーズに組み立てました。インテリアまでできていますのでRPGでも使えそう。
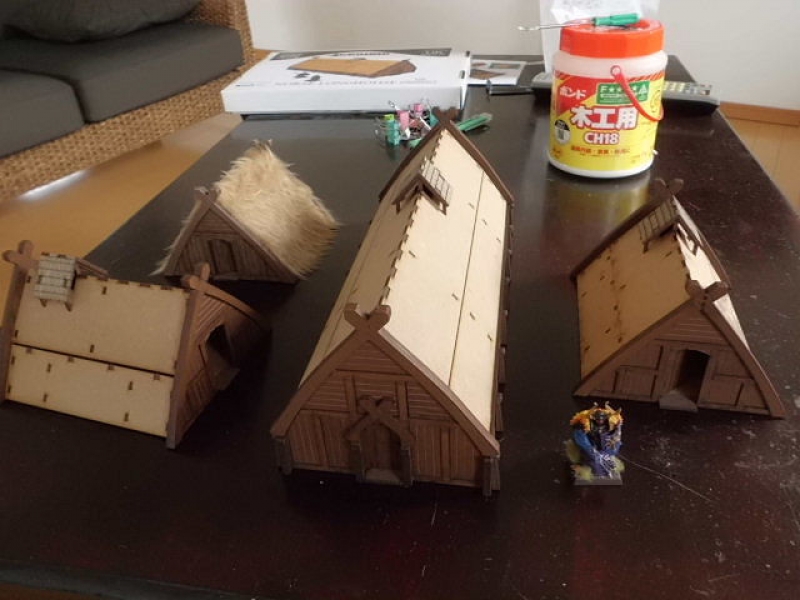
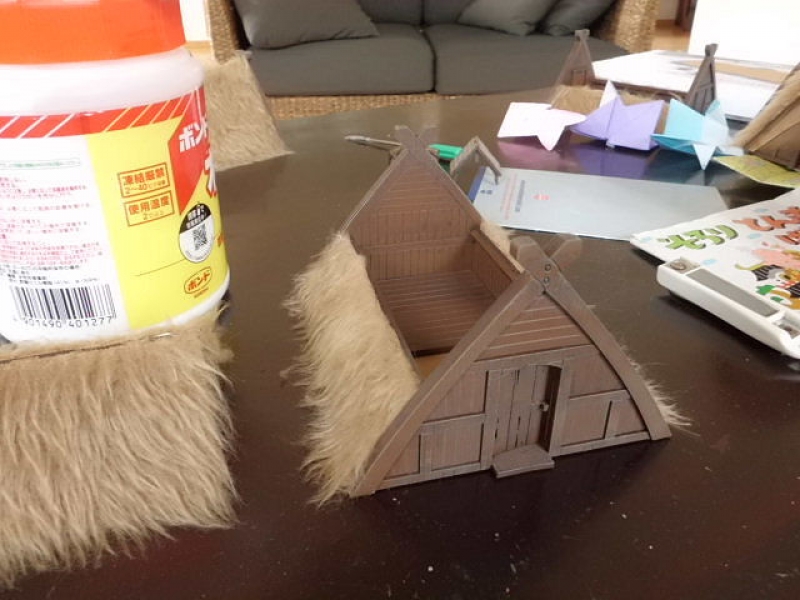
Here are the four buildings with their removable rooves completed.
屋根の板も取り外せます。
I felt the buildings all looked a bit too new and clean, so I lightly drybrushed the exteriors with a light brown to give it some age and faded wood effect. The teddy bear fur is already cut to fit, so it's a simple matter of sticking it down with wood glue.
薄いブラウンで外側をドライブラッシュしました。そして、テディベアの布をボンドで張りました。
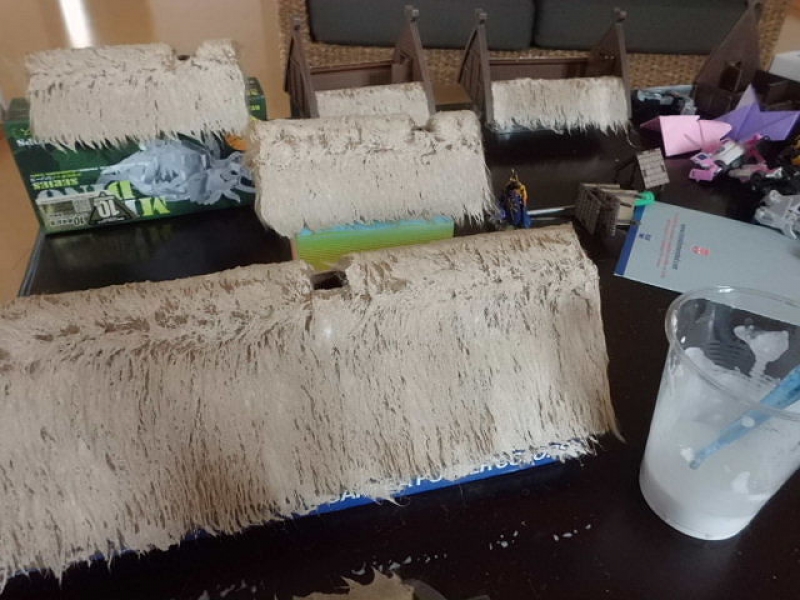
The final step for the buildings is to brush the teddy bear fur down with a 50/50 mix of water and woodglue, using a toothbrush. That pushes the fur into the right direction and hardens it to look like real straw thatch. Once it's dry, you simply trim the edges with a sharp pair of scissors and you're done!
最後のステップは屋根です。水と木材ボンドを50/50で混ぜて、歯ブラッシュでテディベア布を塗ります。乾いたらはさみで綺麗に切れます。
PALISADES:
Having completed my four norscan buildings, I wanted to create some village walls too! Silly me...
それから村の壁も作りたかった!私ってバカ。
Using 25mm-thickness insulation foam, and roughly cut out an oval shaped palisade and divided it into 4 curves and two short straight sections. One of the straight sections would feature a wide gate of some sort.
25ミリの断熱材フォームを長丸にカットしました。そして6つの部分に分けました。
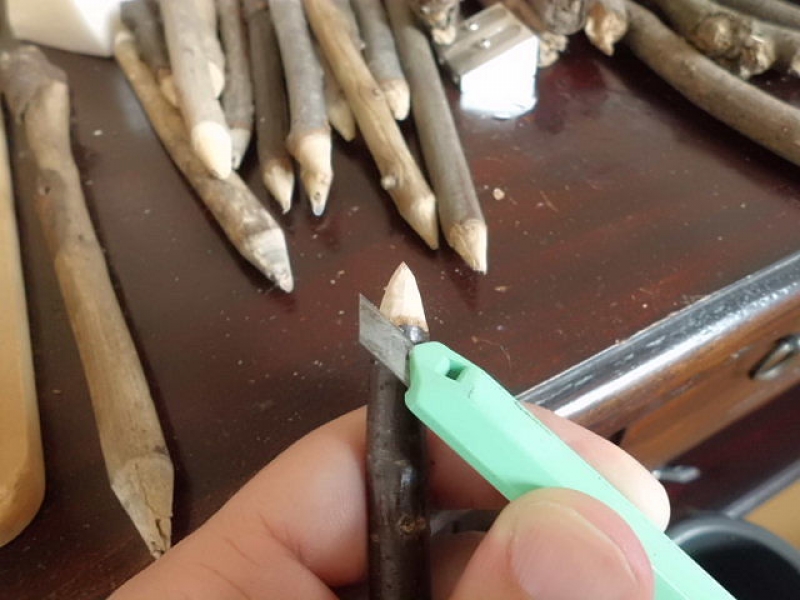
Euan and I went out for a walk into the nearby woods and came back with a large bag of suitable twigs. I sharpened these one by one (oh my god, that was tedious!!) using a pencil sharpener and then trimmed the ends to a more realistic axe-hewn shape.
近所の森で散歩しながら小さい枝を100本ぐらい拾いました。鉛筆削りとカッターを斧で切られた形にしました。結構時間かかりました - つまらなかったよ!
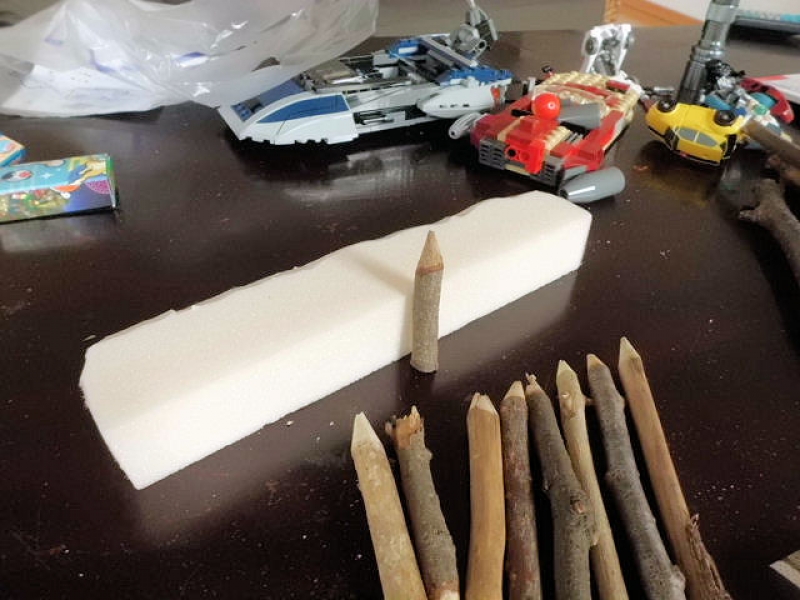
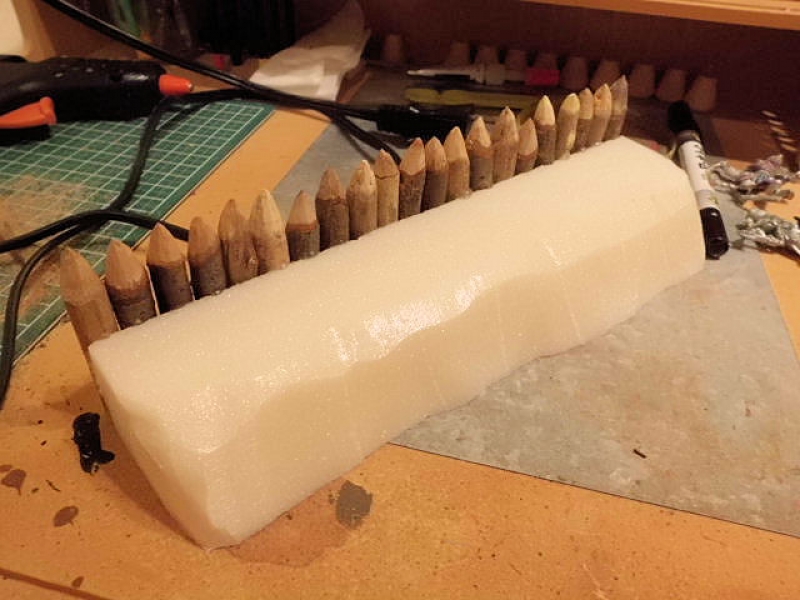
Here's the middle palisade section from the back, with the first of the "tree trunks" cut to size. I then stuck each twig on to the foam with a hot glue gun.
枝を35mmぐらいの長さに切って、ホットグルーガンでフォームに付けました。
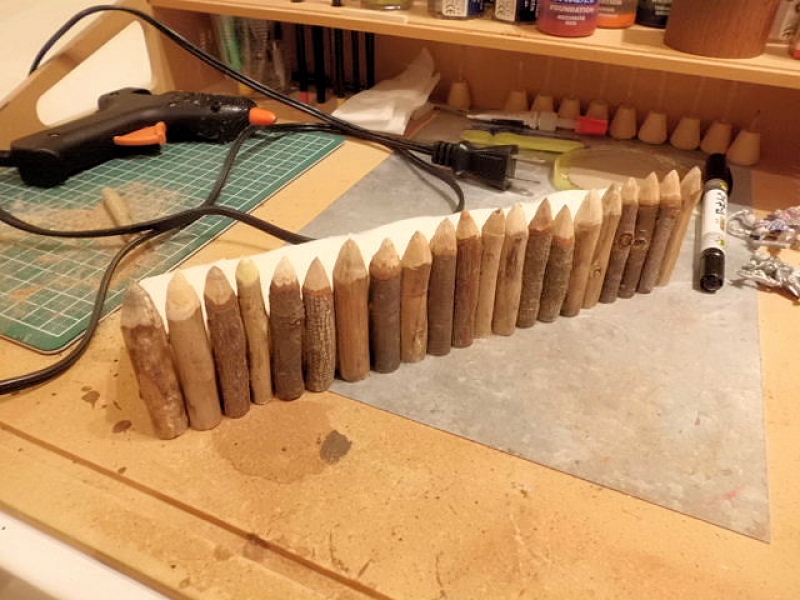
Here's the completed palisade. When I have a few more sections completed, I will texture and paint all of them to try and match a wide variety of tabletop colours - grass, dirt, ash, and snow?
やっとできました。ただし、6分の1だけですよ!後どのぐらい時間かかりますかね?!
Looks a bit rubbish from the back, which will obviously become the inner side of the palisade. Texture and static grass will fix that!
ペイントなどはまだできていないけど、これからですね。
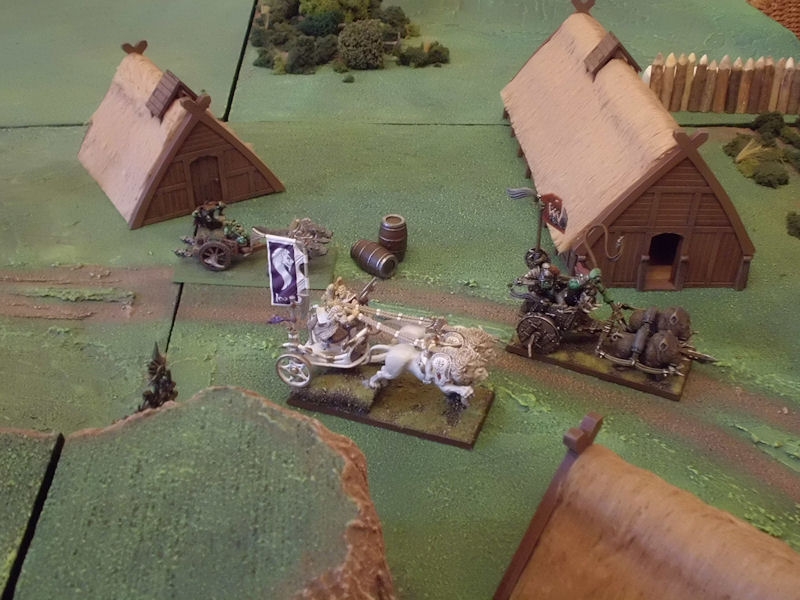
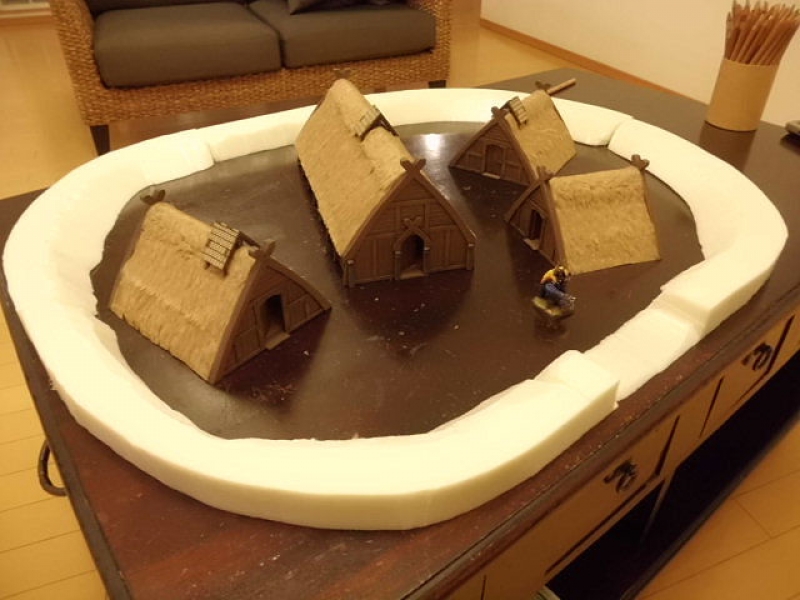
Lastly, here's a quick pic of the completed buildings (with the incomplete palisade in the background) being used as a racecourse by these mad charioteers. The buildings really look pretty good and the thatch looks highly realistic, and the kits were excellent value for money, I think. Strongly recommended!
完成のロングハウスは良い作品だと思います。キットは安くて、屋根の作り方も本当の屋根ふき材料とそっくりですので、オススメします。
3 Comments :
Mark Exelby 2018-02-12 (Mon) 7:39AM
 Hi David/ liam's dad here in the UK! Great job and nice kits! Currently i am painting 28mm Vikings/monk's and shield maidens!! (BadSqiddoGames!) So i will check out 'longhouse's' for some ' back drop! Some Monastery wall's wouldn't go amiss too!! Best Wishes! mark

David 2018-02-13 (Tue) 11:47AM
Hi Mark! Good to hear from you again.
They're nice kits, those longhouses. The teddy bear fur as thatch is such an inspired idea.
We're just getting into feudal Japan stuff here (I heard you bought Test of Honour for Liam's birthday - great choice!), but I'm going to try 3D printing my own terrain for that if I can. Failing that, I'll be choosing more of this type of MDF kit, I think.
Mark Exelby 2018-02-13 (Tue) 18:22PM
Yes / was looking at Test Of Honour scenery! Looks great! All card/ Tori easy one but bell house ( my other favourite!) fiddly to do on YouTube video! Liam said you were doing 3D printing!! I look forward to seeing the results!! Is a lovely looking game/hope good to play too! And great Club has taken on-board!!!
Write a comment :
Random Images: