


3D printed Star Wars board スターウォーズ情景モデル
by David on 2018-05-28 (Mon) 16:51PMOur first 3D printer finally arrived, at almost the same time as the new Star Wars Legion game has been released to the world. The 3D printing community seems to have embraced the game wholeheartedly - I guess partly because there are so many big Star Wars fans out there?
So, for those of you who might be interested, here is a progress blog of our first 3D printed terrain for the Star Wars Legion game, and the steps involved....
1. Print the model
▲ First of all, you'll need a 3D printer. Pretty much any PLA (the plastic material) printer will do, and they run 150~400 USD for our purposes. I plan to make this back very quickly with the savings on terrain and vehicles!
Secondly, you'll need the files for your chosen 3D model. These can be paid files (more of which are coming to market every week) or free ones. The Tattoine house I printed was a free file found on the internet's best resource for free 3D print files, Thingiverse.com.
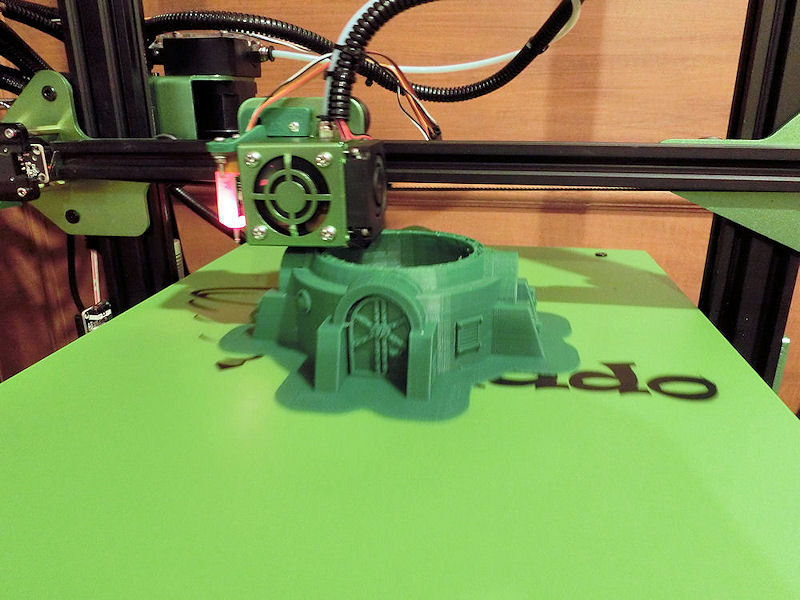
The printer starts at ground level and lays down a super thin layer of plastic to draw the outline of the house, and then moves itself up 0.2mm at a time, redrawing the same outline. Imagine a really, really neat hot glue gun, and perhaps you'll get the idea.
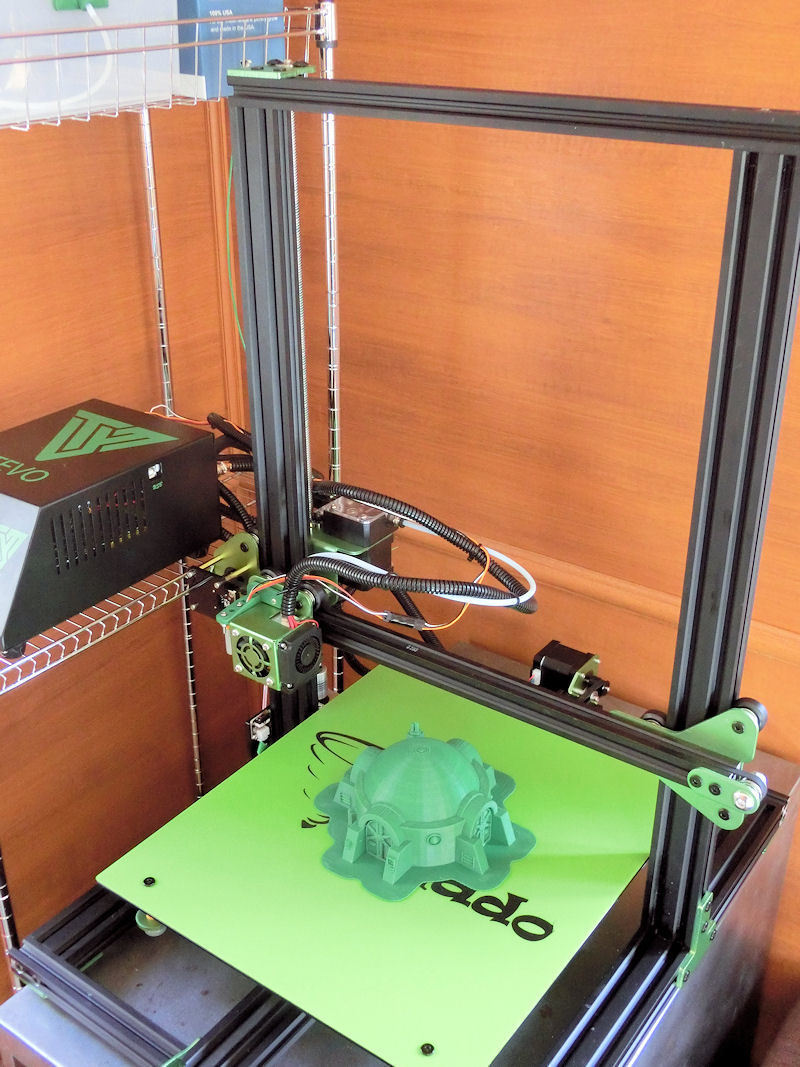
▲ Eventually, after 6 hours in our case, you'll have a completed model. You can speed it up to print faster (but rougher), or slow it down to print super fine, but this perticular one was labelled "Draft Quality". It does leave tiny horizontal lines along the walls, but I'm not too bothered by that - it's a fair sacrifice for the speed, I think.
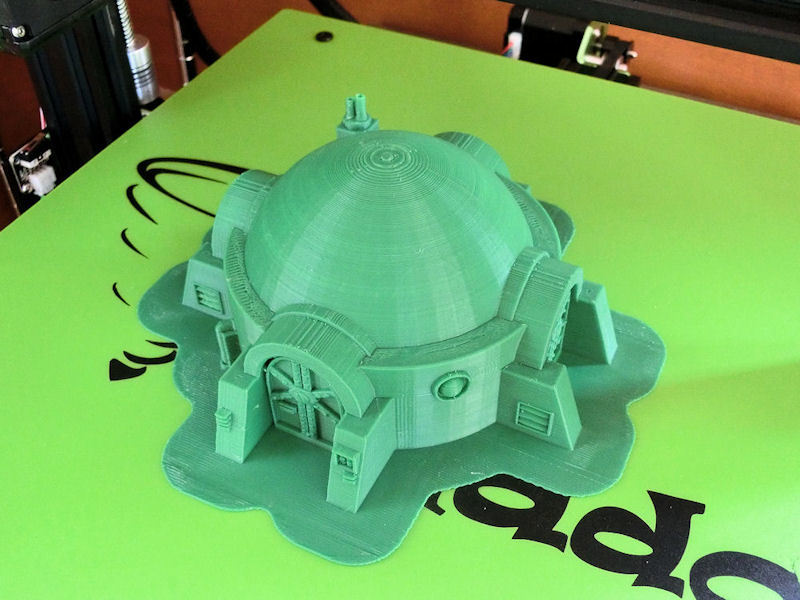
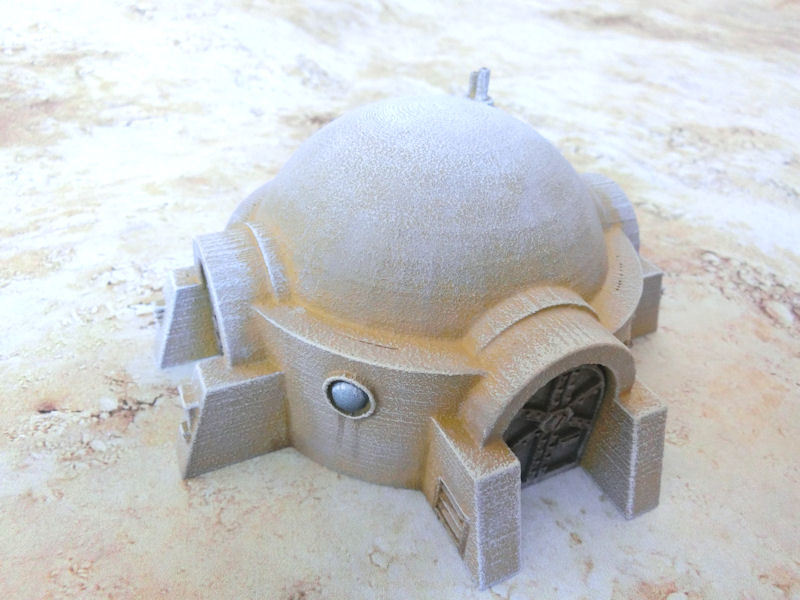
▲ The finished print model. For a first terrain model on this printer, it came out remarkably well!
▲ The next step is to sand down the large walls and edges of the model. I used 400 grit sandpaper to quickly remove the most obvious print lines and stray bits of plastic.
Due to the nature of the printers, they don't print domes perfectly (the lines can be a bit too visible), so I was happy that this was a quick fix with the sandpaper.
2. Texturing
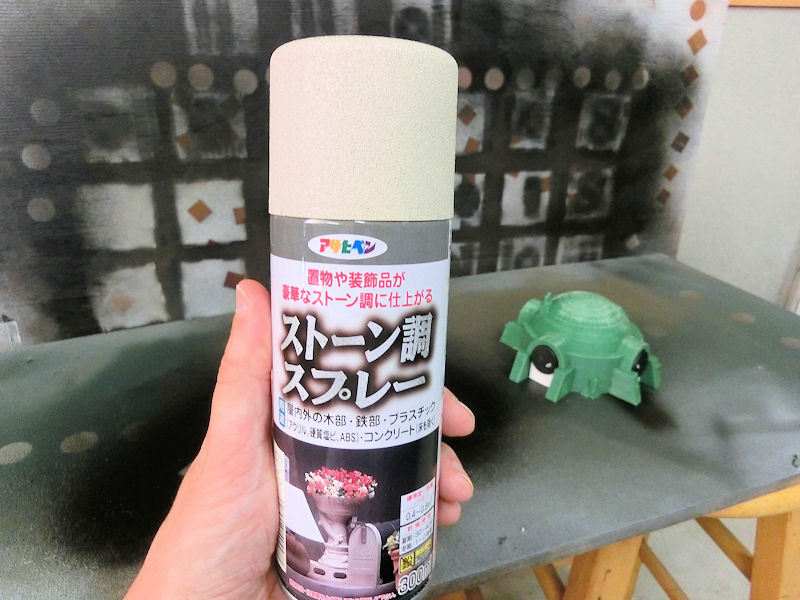
▲ Tattoine buildings in the Star Wars universe are made out of dried mud and sand, so I wanted to replicate this effect on the models themselves by creating an artificial sand texture.
This was a stone-effect spray can I found in my local DIY store (non-Japan residents will probably find Rustoleum to be similar), and contains fairly thick matt spray paint. The paint contains tiny flecks of plastic which produce a great texture when dry. The thickness of the paint also helps to hide the print lines on 3D printed terrain models.
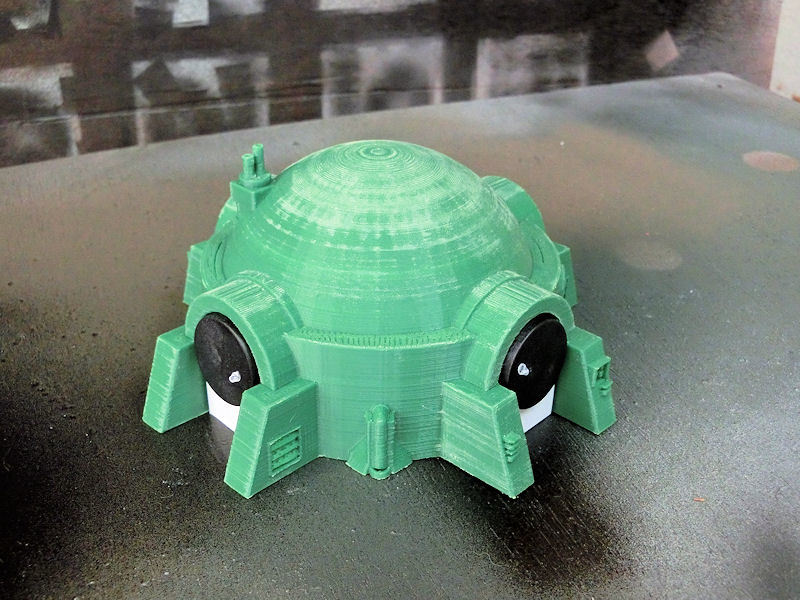
One thing you do need to remember before you spray, is to cover over those sections of the model that you DON'T want to texture. In my case, I places a few scraps of paper and spare bases over the doors.
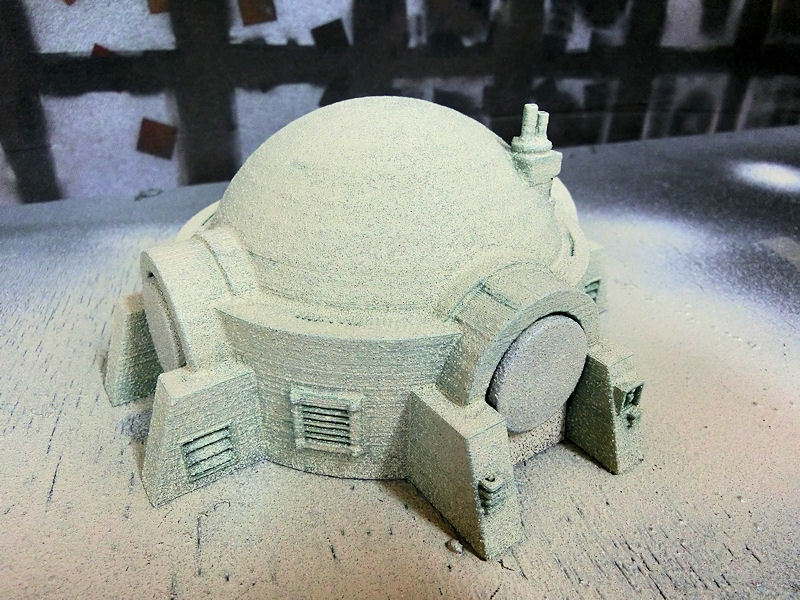
▲ The first coat of stone-effect spray goes on well, but I decided to do a second coat.
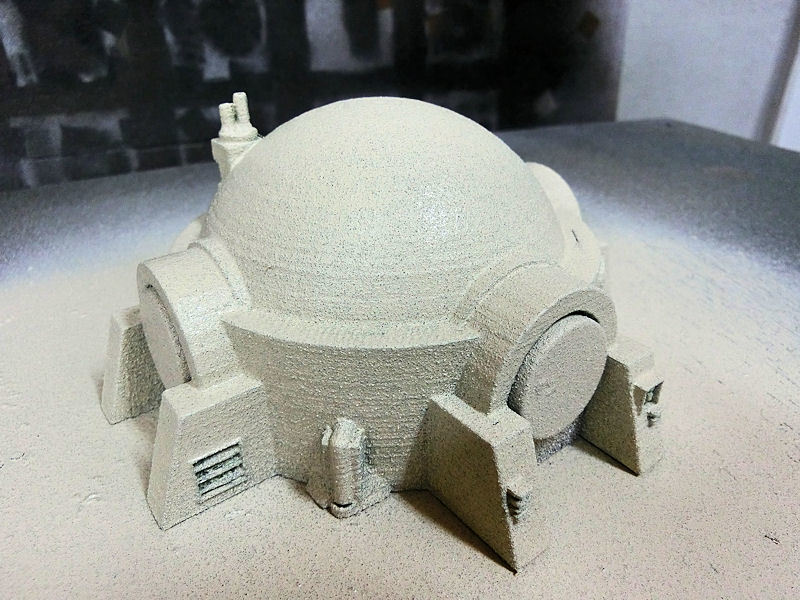
▲ Here's the model after the second coat of stone-effect paint has dried. It's convincingly sandy, and I think you could probably use that version us your undercoat if you wanted.
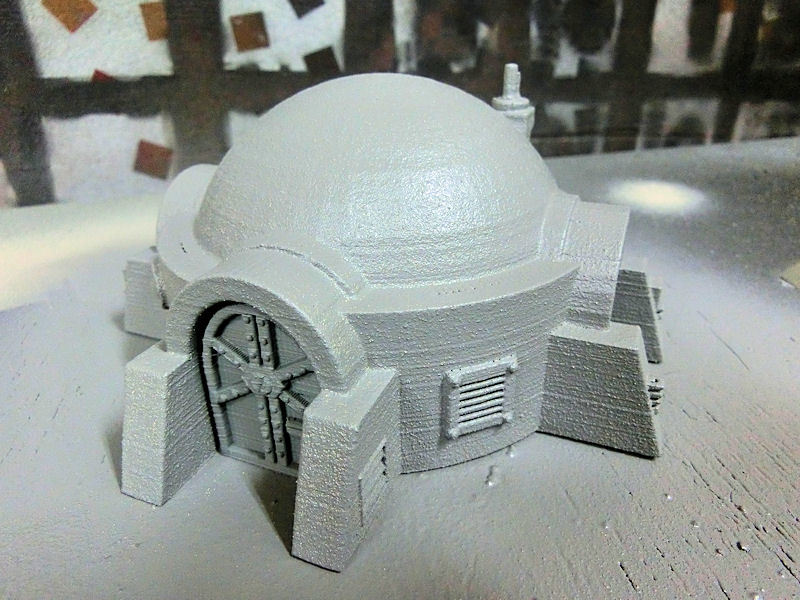
▲ I decided to spray it one more time, just to cover any areas missed by the paint. This time I didn't use the stone-effect spray, but instead just a matt grey spray.
On to the paint desk.....
3. Painting
I was planning to do a step-by-step of the painting method too, but in fact it painted up so quickly it really didn't seem worth it!
- The building was given one solid coat of sand-coloured Iyanden Darksun (GW base paint).
- Then a fairly heavy drybrush of cream-coloured Dheneb Stone everywhere except the crevices.
- Then finally a very light drybrush of Skull White just on the top of the dome and the edges of the walls.
With that, most of the building was complete, and doors and the window were finished up in similarly quick fashion.
- I also added a little weathering with Agrax Earthshade brown wash below some of the vents, just to age the house a little.
In total, the whole building was drybrushed and detailed in a little over one hour. Drybrushing over stone-effect paint really gives fantastic results for such a quick technique!
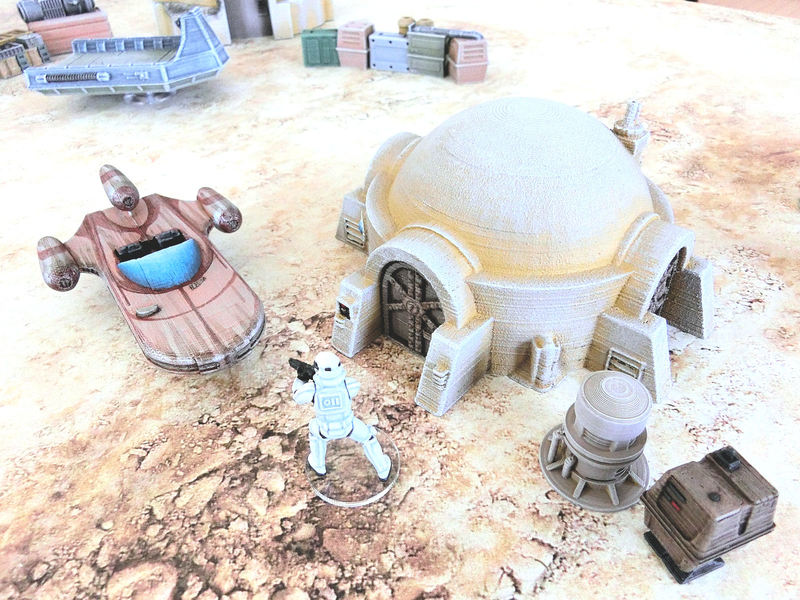
▲ The finished building, on our new desert-world mat.
For a couple of hours of painting time and about 150 yen of 3D printer plastic, I love it!!
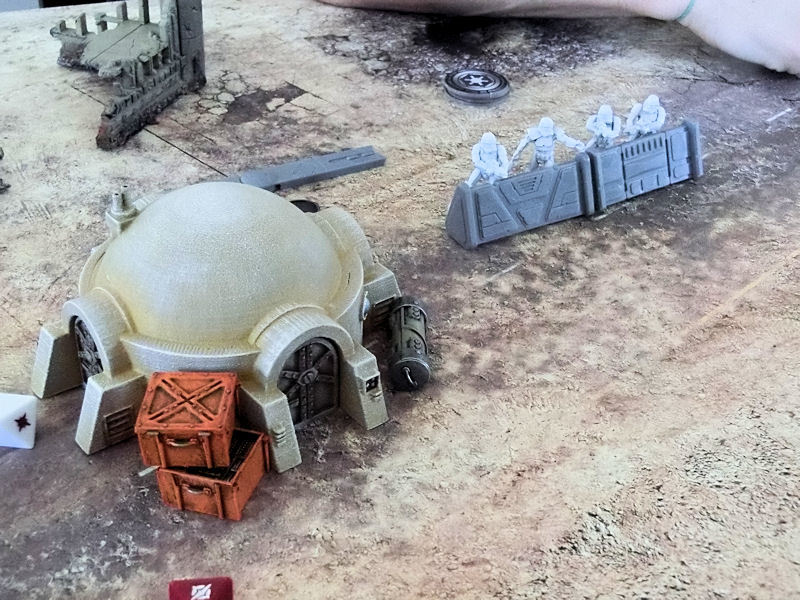
▲ The house in action, during our first ever game of Star Wars Legion. Hope you enjoy it, Chris!
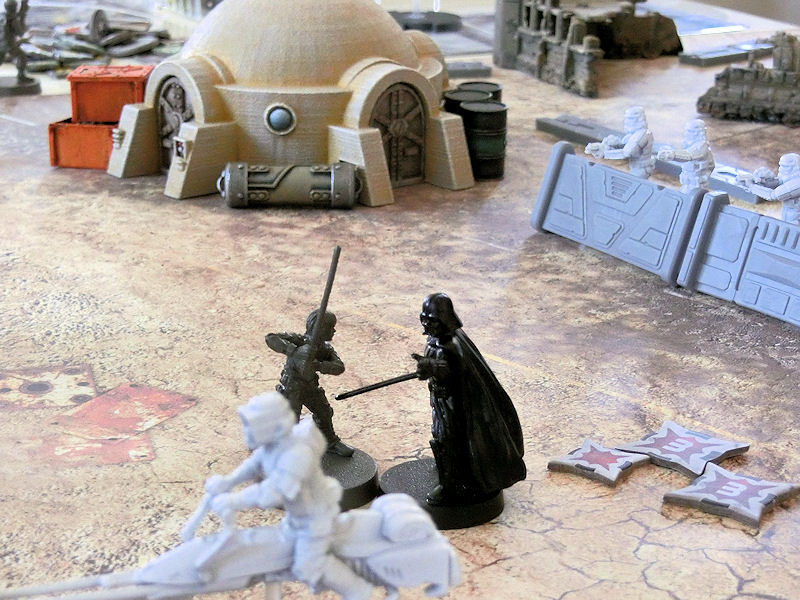
▲ Funnily enough, Darth Vader died in both of his debut games! I guess Luke had the home-turf advantage?
Totally 3D printed board:
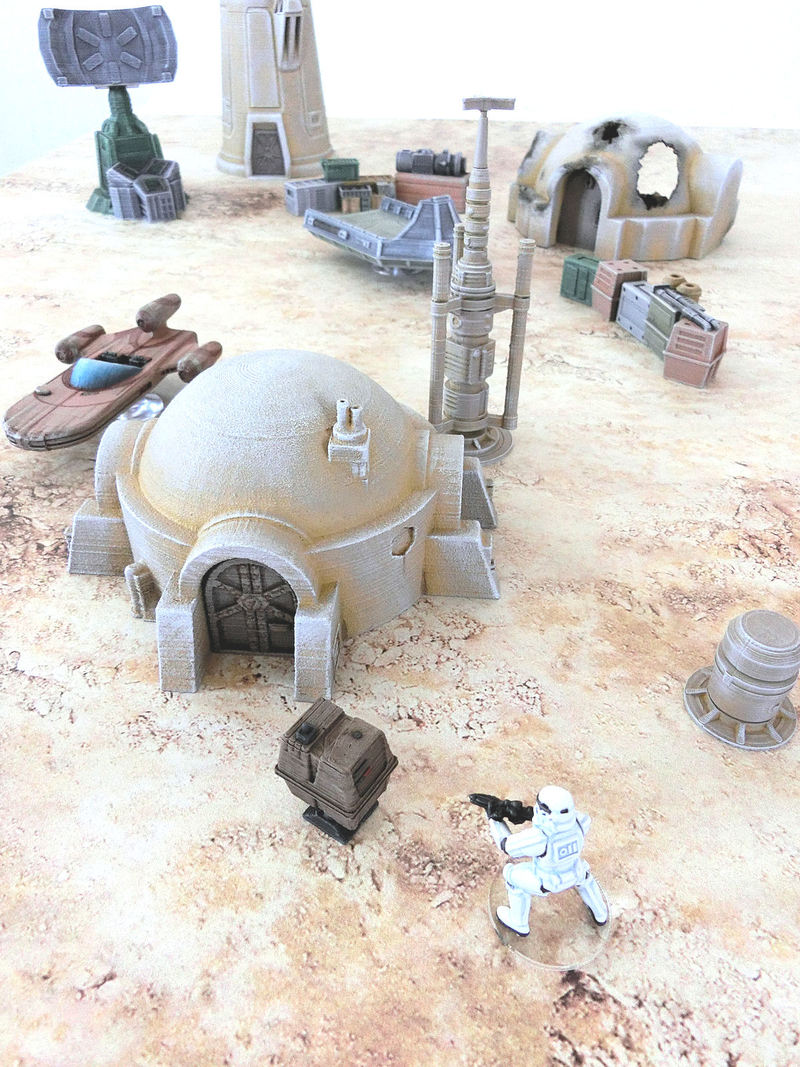
Over the last few weeks I've been slowly painting up our collection of 3d-printed Star Wars terrain, and this yesterday's game board:
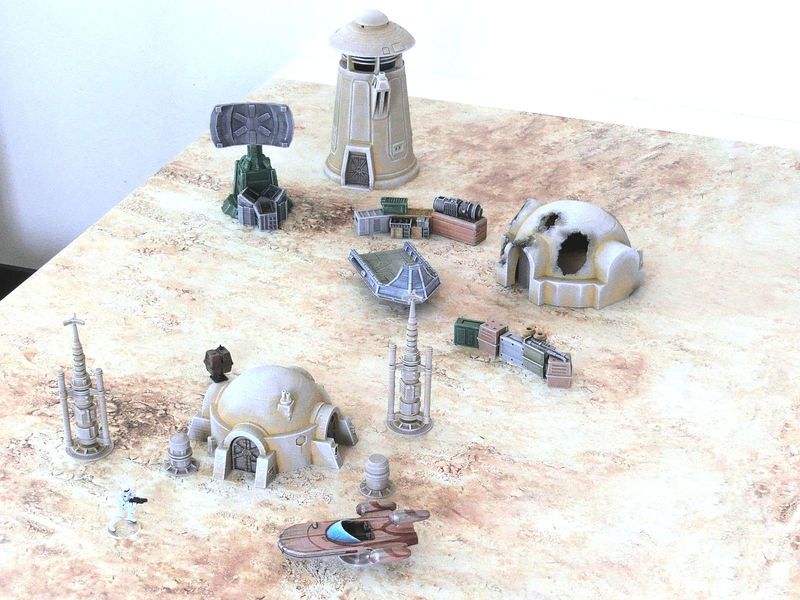
▲ Couple of houses, a watchtower, comms tower and some little bits and pieces.
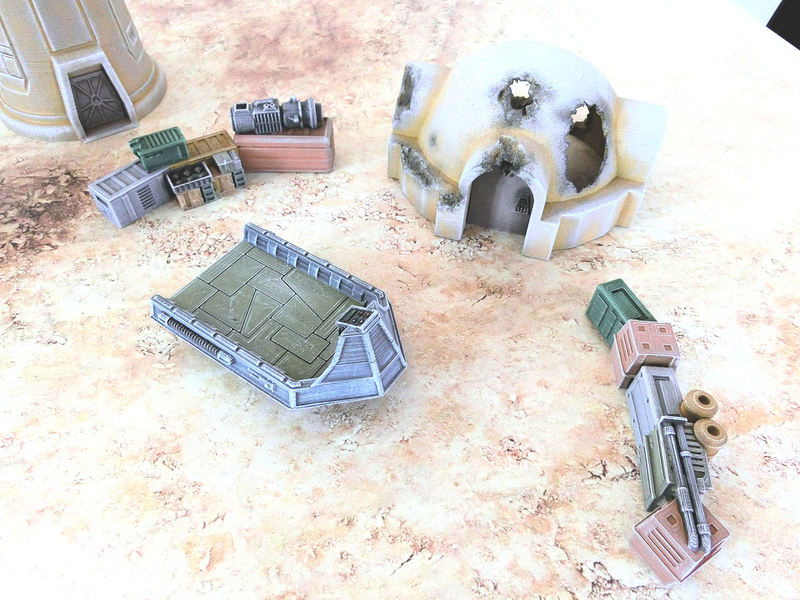
▲ Cargo sled and some crate barriers look much better on this kind of board than the military barriers included in the starter set, I think.
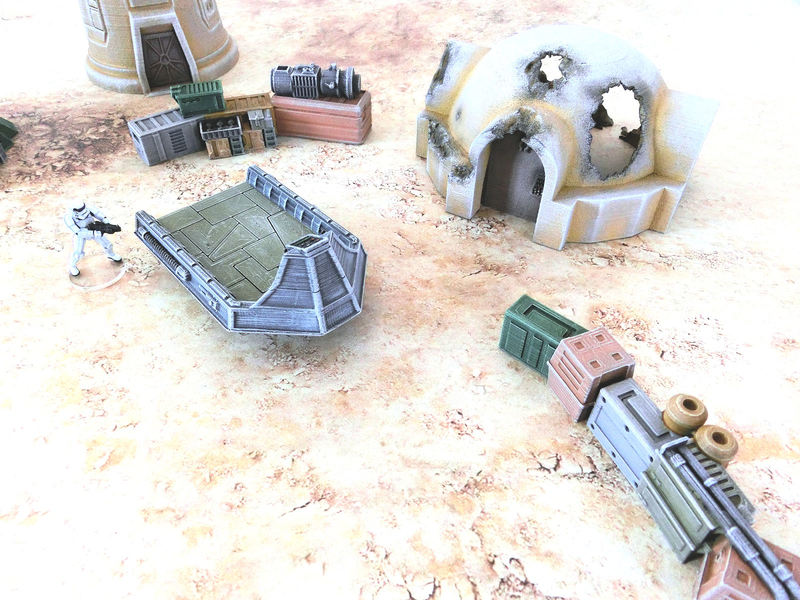
▲ The ruined house came out well, although it's a little big compared to the other house. But with some stippled dark grey around the damaged parts, it looks great!
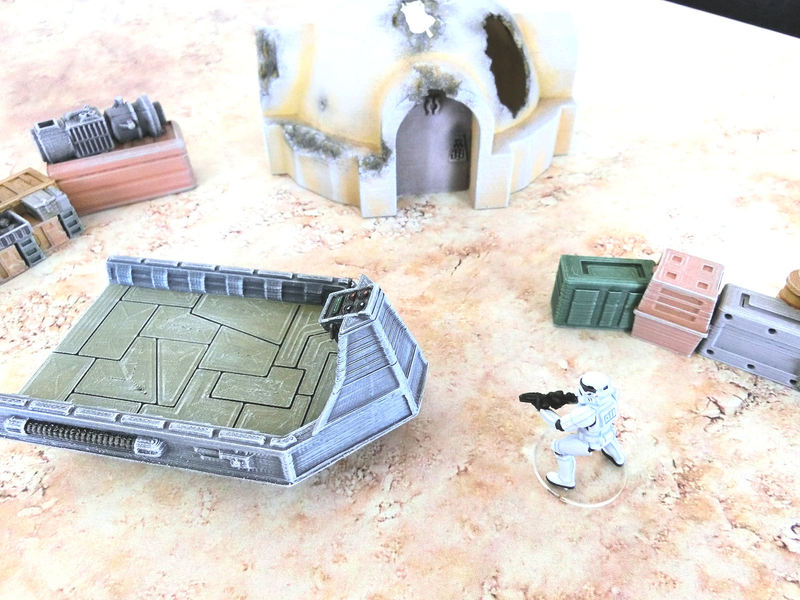
▲ This is not the cargo sled you're looking for...
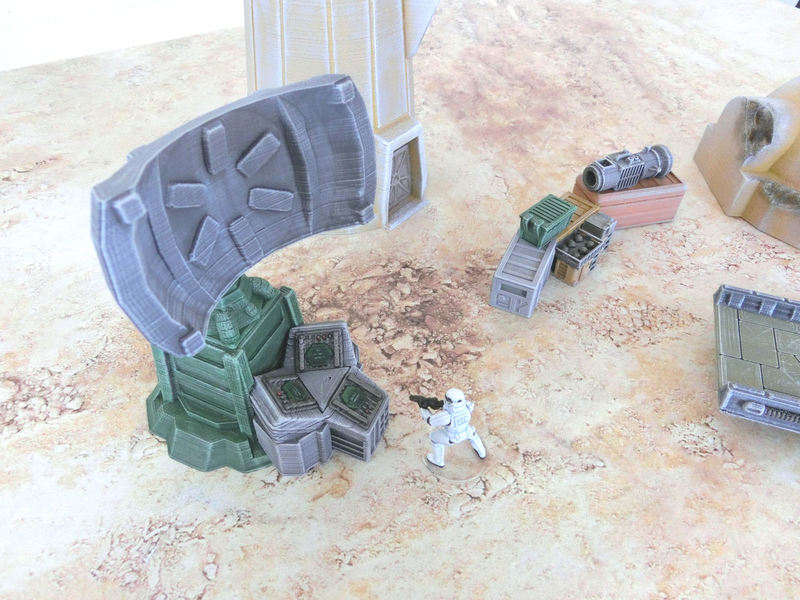
▲ If in doubt how to use it, just shoot it with a blaster! Great chunky comms tower here.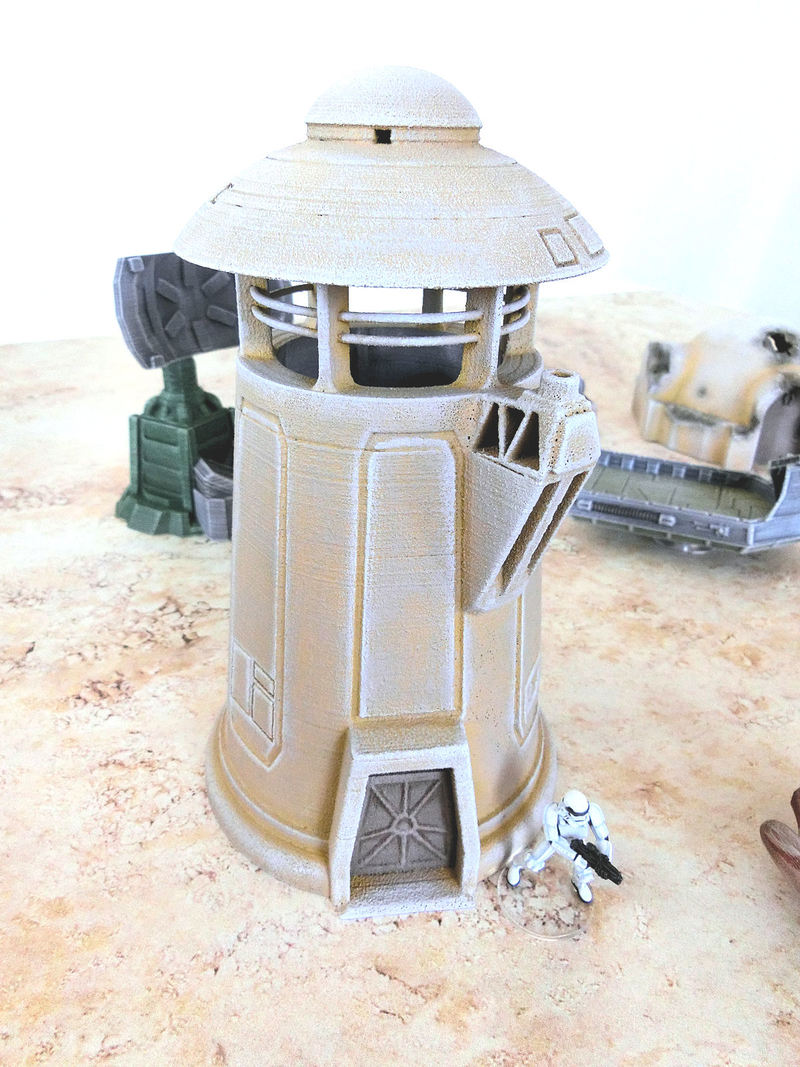
▲ Another stone-effect spray used on this building to great effect. The top comes off so you can put troopers up there... not they can hit anything from there, of course.
▲ This is not the droid you're looking for...
I love this little gonk droid (walking power generator droid, apparently). It adds so much flavour to the board.

▲ Very thematic moisture vaporators. I bet Luke will feel right at home now!
▲ This is not the speeder you're looking for....
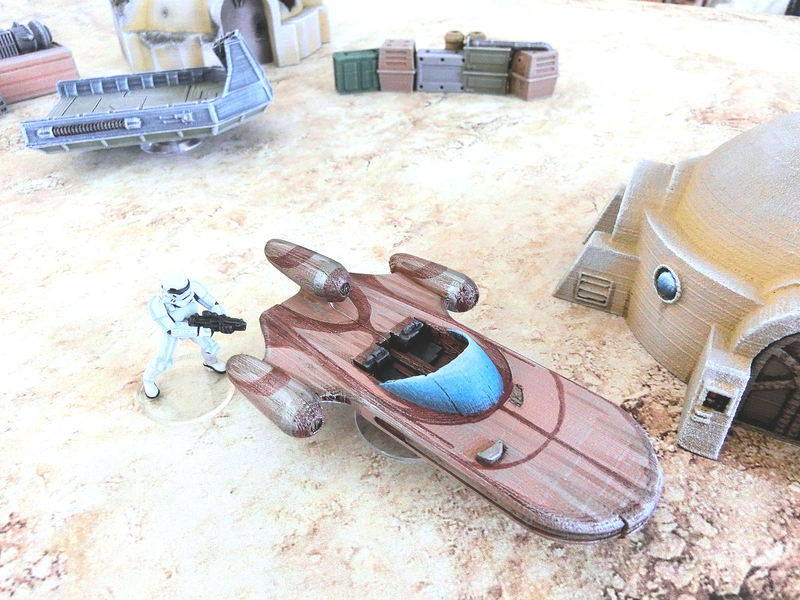
▲ Oh actually, it is, isn't it? The print was not perfect, even after enlarging to 160% size, but after lots of dirt and grime and scraped off paint, it looks just fine.
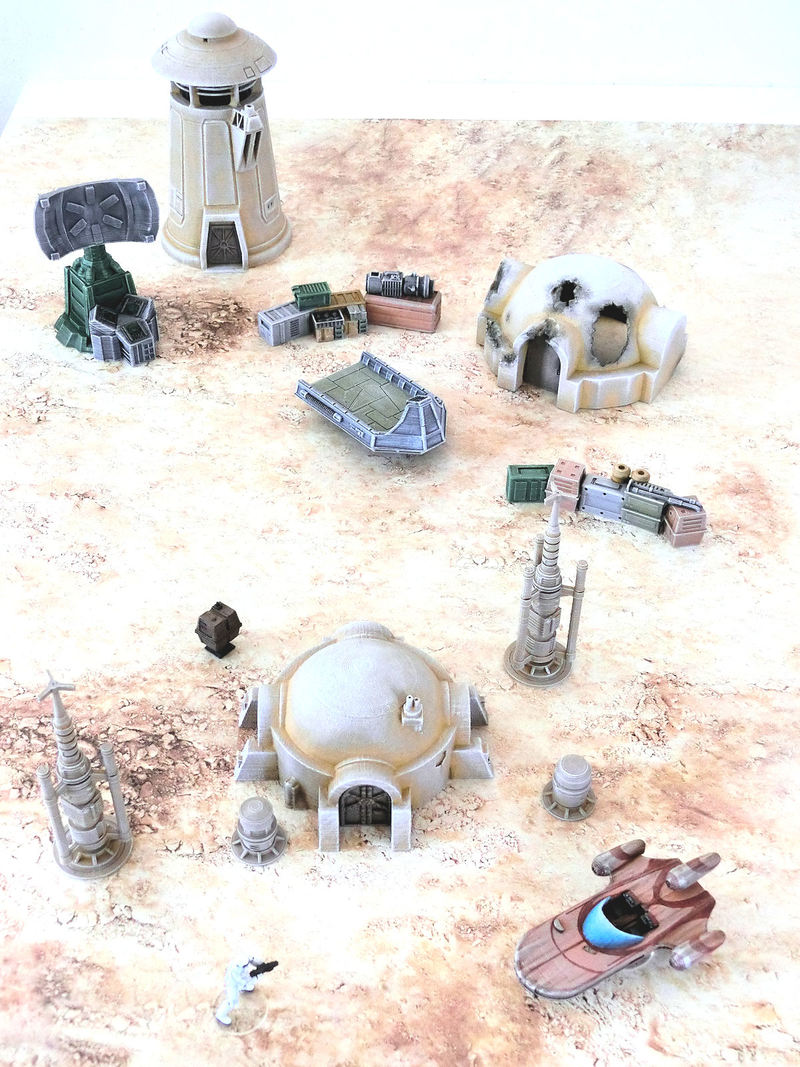
▲ A great little Tattoine board!
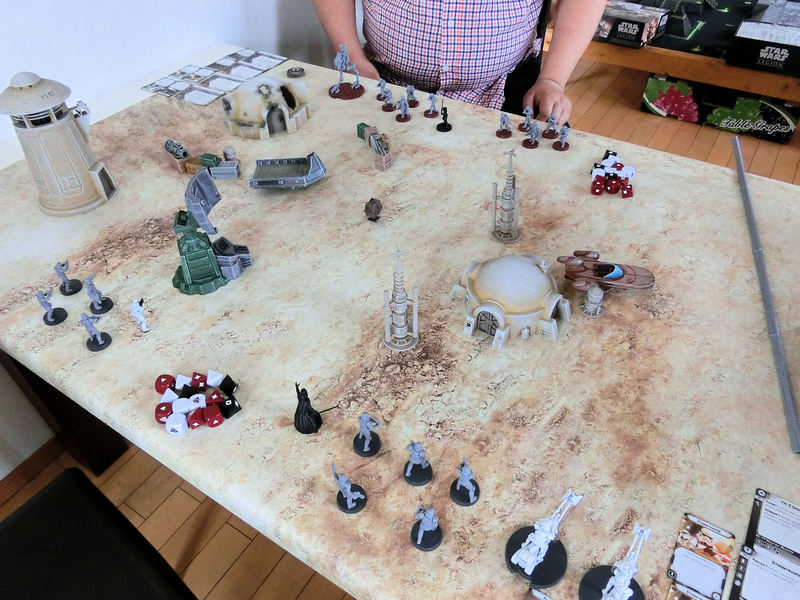
▲ Here's our first game on the new board. We used the Gonk droid as an objective, and Luke impressed us all by ninja-flipping over his old speeder to rip a squad of stormtroopers apart!