How to make your own washes and save yen!
by David on 2019-07-08 (Mon) 13:13PM* Thanks to Chris for the help finding suitable products in Japan.
I've recently been producing and painting up a LOT of 3d-printed terrain, and using GW washes (also known as "shades") started to get a little too expensive!
So here's my guide to mixing your own washes using products available in Japan..... for approximately 10% of the cost or less!

▲ You will need:
- Mixing pot
- Distilled or de-ionised water (look in the car battery section of your local DIY store) : 20 yen
- Acrylic ink : 900 yen
- Matte Medium : 900 yen
The only real costs are the initial purchase of the inks and matte medium. I found mine online from the very reasonable Holbein maker's store: https://www.holbein.co.jp/en.html
You can also find these in art shops near you.
Ongoing costs are a few drops of ink and matte medium and a large squirt of the distilled water for each GW-equivalent pot... so about 20 yen total?!
For an Agrax Earthshade equivalent, I used Raw Umber ink, and for a Nuln Oil equivalent I used Primary Black ink.
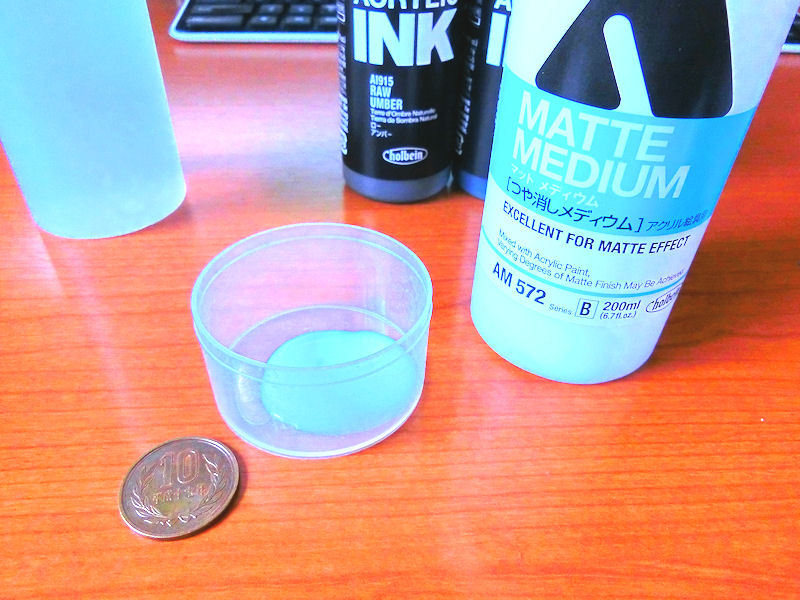
▲ Step 1 : Matte Medium
Squirt a few drops of Matte Medium into your mixing pot - about the size of a 10 yen coin.
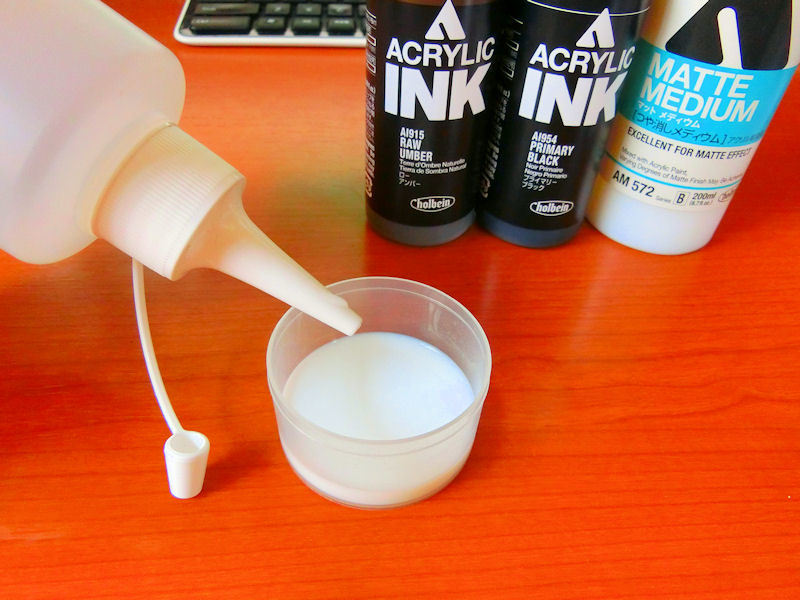
▲ Step 2: De-ionised water
Squirt in enough de-ionised water to create a mix with the consistency of fairly transparent milk.
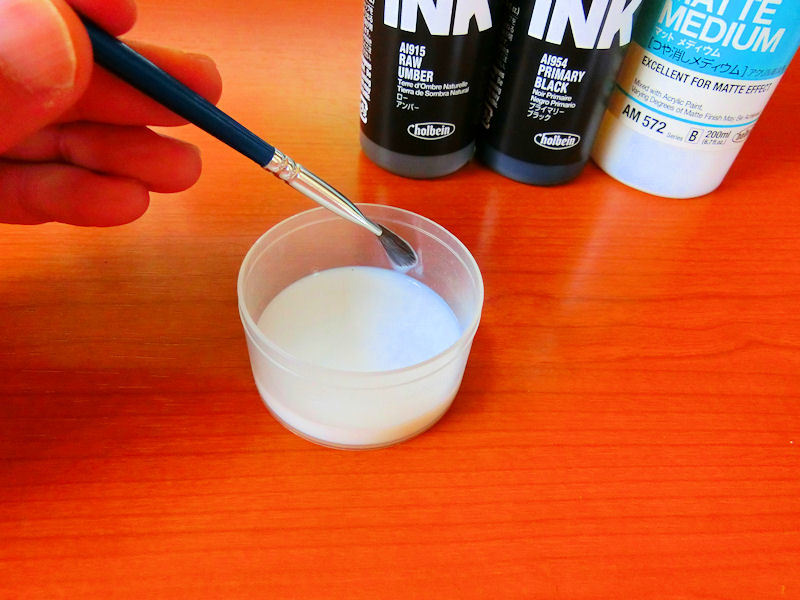
▲ It should be about this thin.
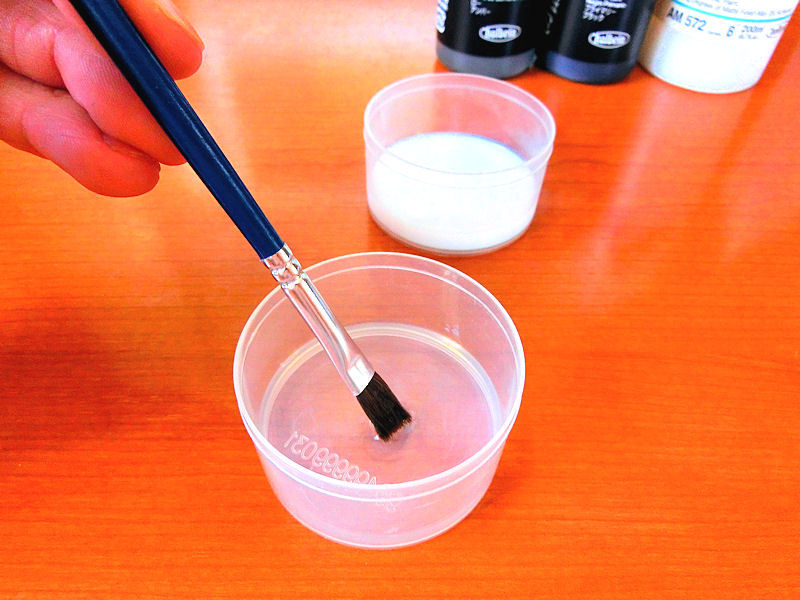
▲ Step 3: Flow agent
To make your wash flow properly across surfaces, you need to add a drop of "flow agent" (washing up liquid) into some water, and mix a tiny bit into your pot of wash.
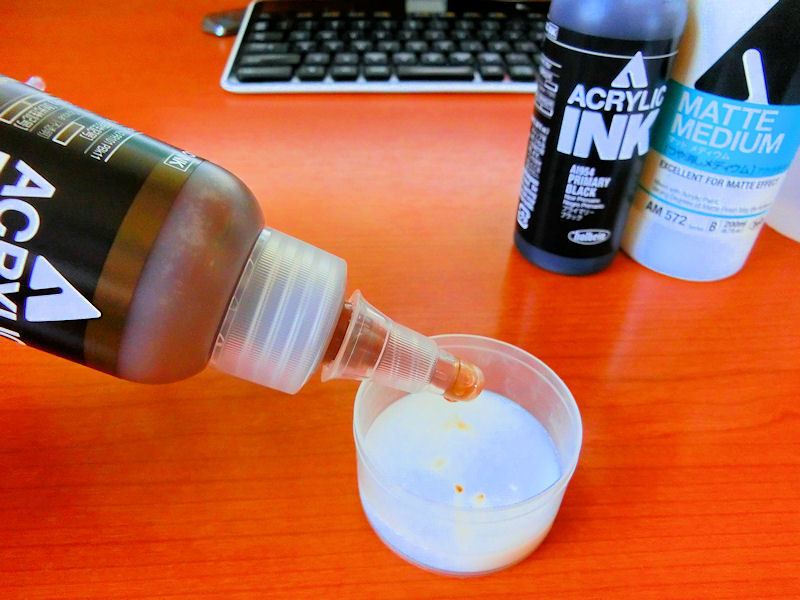
▲ Step 4 : Add ink
The last step is to add a few drops of your chosen colour of acrylic ink into the pot of wash. Black is apparently stronger than brown, and only requires about 5 drops. My brown required about 10~15 drops?
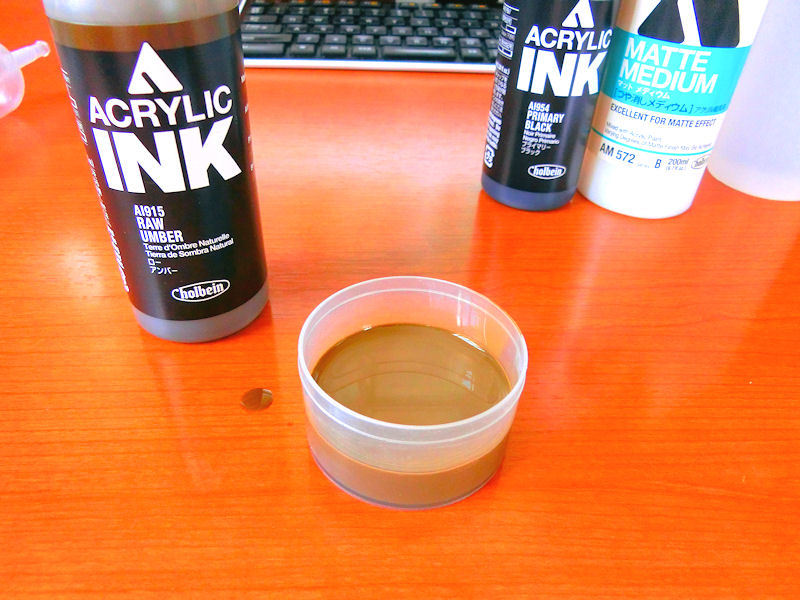
▲ Mix it together, and it looks like this. I have to admit, after some test washes on models, I found Raw Umber on its own to be slightly too light, so I also mixed in 2 drops of black to darken it.
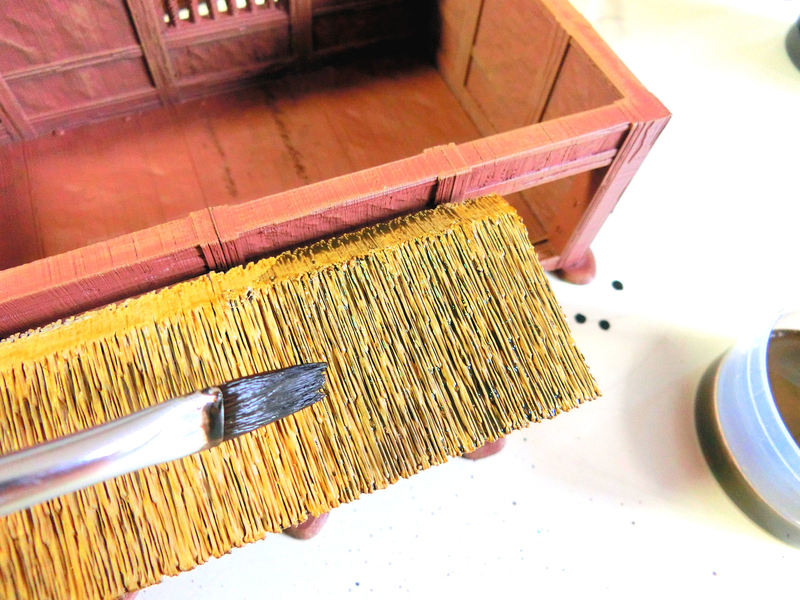
▲ Here's my (darkened) brown wash in action. The thatched roof has previously been given a heavy sepia wash, and then I gave it a brown wash.... which you can see on the right-hand side of the thatch.
All in all, I was very happy with this home-made wash. Very, very cheap, and perfect for large terrain!


